Video Development
Script & Writing:
I’d written sections under each image and used them as a starting point for my script. I’d take each section, speak it out and see where my choice in language changed.
I’d then record that one section, see how the time looked and change accordingly. For example:
Tues 20th January
Under Image Text:
Although a University day, this was also the day that Ed & Koda left for Bristol. They’d be gone for 4 days meaning, I was home alone for this time. It was the first time I’d been home alone without both Koda and Ed around. Ed came and met me for lunch, before he set off. It was a very emotional and stressful day but these few moments of peace, sitting in the boot with Koda, watching the world go by was the best part. Even if I did end up covered in dog hair! My evening consisted of packing, cleaning and watching movies to distract myself from the world.
Final Script:
Today was the day Ed and Koda went down to Bristol. They wouldn’t be back until Saturday at the earliest so I was on my own for the week. They came and met me for lunch before heading off and I ended up sitting in the boot with Koda, Watching the world go by. I love how fascinated he is with everything and any moving object. He has to know what it is at all times.
I needed to keep myself to the point and clear, making sure the needed information was included and any emotions that surrounded it. I wrote what I needed and used it as a basis, less so a formal script. Words would change and tones would shift however, the foundation was there.
Audio Recording
My plan was to record the audio on my phone and process each day individually. This way, if there were errors, it’s only 20 seconds I’m re-recording, not the full 6+ minutes. The only issue here was the change in volume & tone. It’s not much but you can tell the difference between me talking into the phone and towards the phone. I tried to avoid this where possible however, it still slipped through.
I tried to keep the file names consistent however, after importing them, there were some that needed re-recording. I then devolved with the naming and started calling them “PK (Identifier)”.
I had a collection of the recordings ready to go however some were a second too long. After seeing the wave lengths, I noticed it was due to my pauses or taking a breath. Once they were in the editor, I was able to cut them down and fill the gaps where needed:
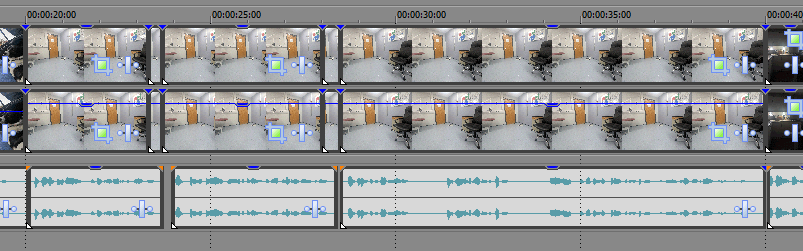
Image Import & Layout
Similar to previous videos we’ve made for this course, I didn’t want to have a plain black background. I personally find that they can ruin some experiences and take away from the creativity of it.
Replicating a previous design, I added a blurred, zoomed in version as a background & overlaid the main image to create this effect:

I found it created a more comforting viewing experience and removed the harsh edges, while still making a clear boundary.
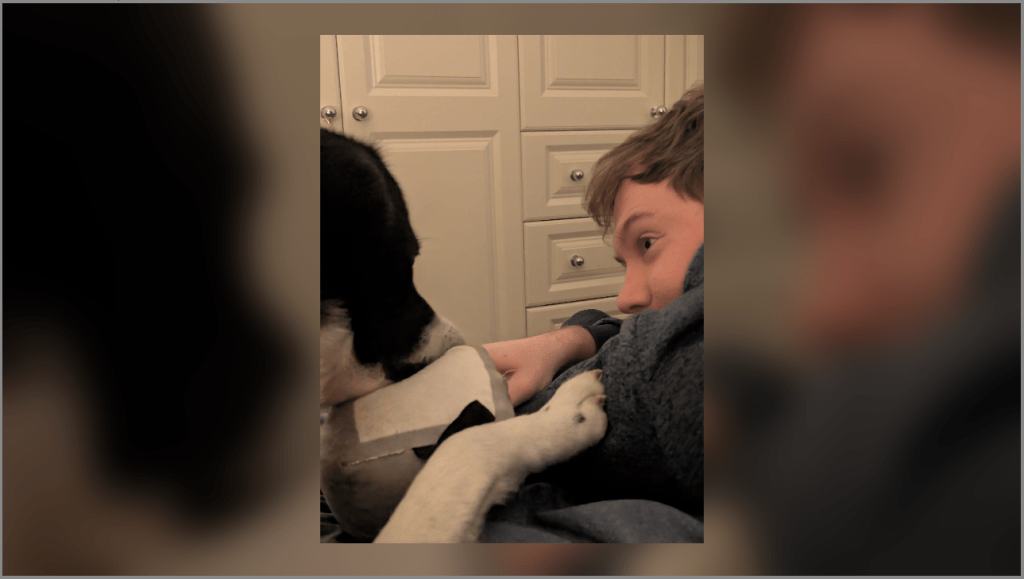
My only peeve was with portrait images as it felt they took up too little space in the screen. Unfortunately, I couldn’t find a way to aesthetically change this and therefore left as it was. Others didn’t seem to mind it, it was apparently just me.


Leave a comment