Back to my old roots
TLDR;
Film, Audio and Photographs merged together!
- Prior to this
- Software & Plans
- Developing
- First Draft Export
- Feedback and Thoughts
- Round Two – FIGHT!
- Final Export(s)
- Final Thoughts
Prior to this
Weirdly enough, when I applied to university, I actually wanted to go into Media and TV Production. I loved pre/post production as a teen and even got my Level 3 in Creative Media Production (Film & TV). Hearing that this weeks task was to create a video using our photos, I was very excited!
Software & Plans
Dan said to use Adobe Premiere to edit this as it’s the Industry standard.
I don’t overly like Adobe (I use it begrudgingly).
I have a copy of Sony Vegas that I adore however it’s Vegas 13 so from 2015. It’s 11 years old but still runs perfectly! I know I need to learn Premiere however I want to spend time figuring it out and not stress myself more than I already am.
Alright, Software sourced and downloaded, onto the plan!
I had two ideas but only one that was able to see the light of day. Originally I wanted to get some candid images of my family around the Christmas period and grab an audio clip from us at the Boxing Day Get-together. Silly plonker here forgot to take her camera with her back to Sleaford so… Idea 2 it is!
All those photos of Koda from week two that I loved? We’re going to use them. Before the 3hr drive to Sleaford, Ed and I took Koda for The Big Walk. Over this walk, I got my phone and used the audio recorder to see how the quality was. Surprisingly, it’s actually quite decent!
I grabbed a few short recordings however the first one was the best
I would need to think about captions due to parts where the wind blows and we lose audio. I definitely will need to cut some sections down/out.
Developing
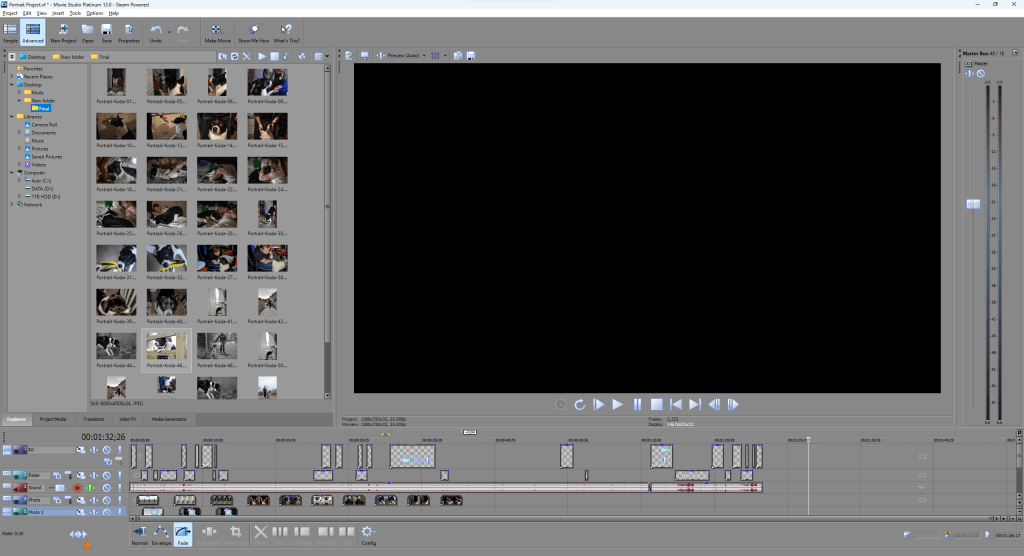
Booting up Vegas 13, I gathered what I needed and started work. First port of call was the audio. I’d know what timeframe I’m working with and lets me start on the captions.
I created two presets for the text to create uniform viewing and started lining up the tracks.
After that point, I started on the images. I wanted to show the ones that I wasn’t able to submit and started importing as and how. I knew this was my first draft so wanted to make sure I could make it before focusing in too much detail.

By the end of the image dump, my timeline was looking good. The only issue was that I wanted to use some of the portrait images. This gave me a massive black border that, not only did I hate, but Dan mentioned he wanted us to avoid.
Time to be a clever clogs.
Using the pan/crop tool, I was able to shift each image to a side and have two images on one shot. This would become a powerful thing to learn for later on!

Okay, a few hours later and a lot of CTRL-Z, we’ve got the first export ready to go!
First Draft Export
Fun Fact – WordPress makes you pay more money to be able to upload videos to the website. You do not need to pay to embed YouTube videos.
Feedback and Thoughts
Personal Thoughts:
I hate it.
The images move way too fast, the captions look horrible and these black borders are infuriating me.
I know I can do better but, to be honest, this is a good first starting point.
Outside Feedback:
Mum – Not sure about the captions, takes away from the images. Change the black backdrop? Makes the video feel lifeless.
Ed – Loves the captions, adds definition to the video. Images need order and collections. Loves the pairing of portraits. Background image?
Round Two – FIGHT!
This time I started again. I knew the buttons I needed and the idea I wanted but I had a few key points I wanted to focus on. Let’s attack them one by one.
The big thing for this was remembering that I am on a Photography degree, not a media/digital editing degree. The focus here are the Photographs, not the video.
Aspect Ratio
The images were 6000 x 4000, the video format was 1280 x 720. This meant that we were getting a black border no matter what. I wanted to find a way to remove this.
I started messing about with aspect ratio for the video. The closest I got was using the older YouTube format, 640 x 480. This removed most of the border but massively impacted the quality of the video itself.
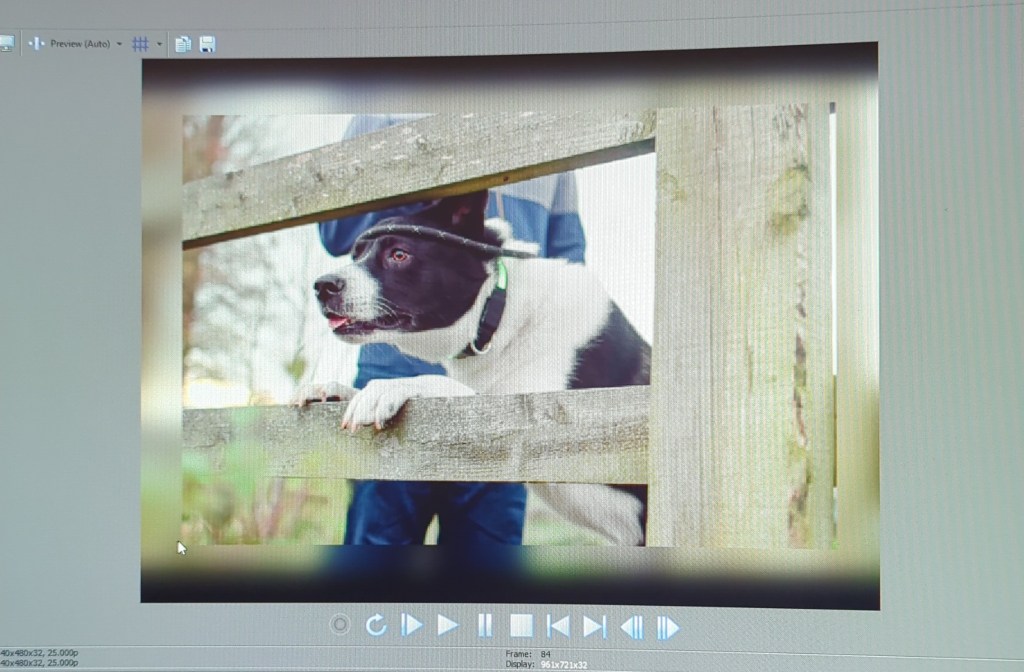
At this point, for the sake of the image quality, it was better to stick to 1280 x 720.
Background / Black Borders
Okay… what to do?
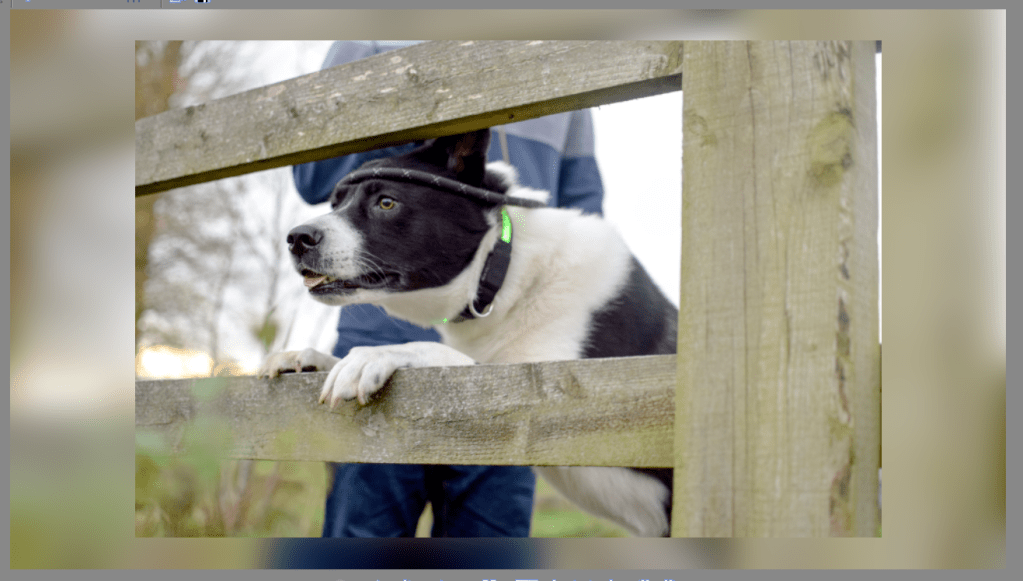
I don’t want one static image across the whole track. I’m thinking of putting a blurred version of the image behind and using it to fill the gaps.
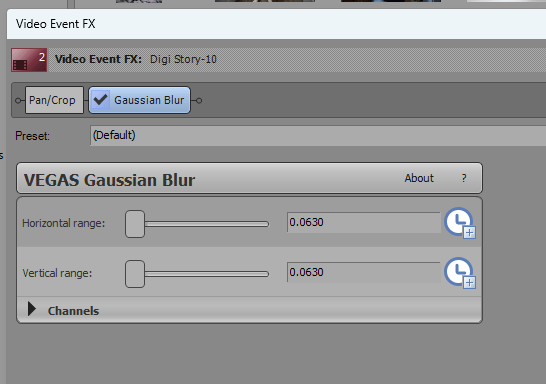
There were a few different effects I can use but I ended up picking the Gaussian Blur. I have no idea what It means but it gave the desired effect.
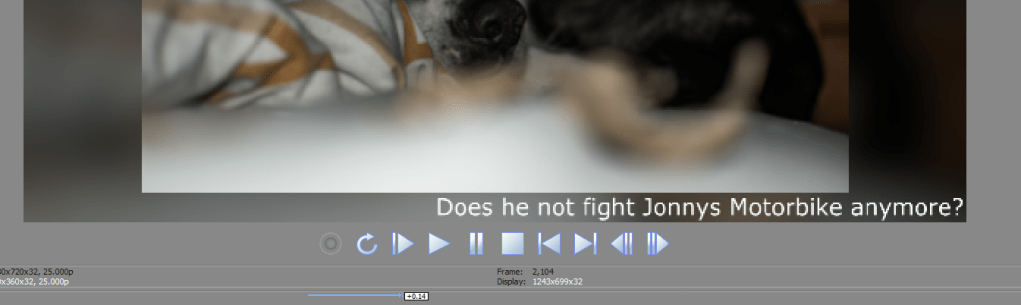
Changing the cropping, we ended up with a widescreen (16:9) crop of the outer image, removing the whole black background. From that, I zoomed out on the main image, creating a clear boarder between the two and creating me a space for the captions, If I decide to use them.
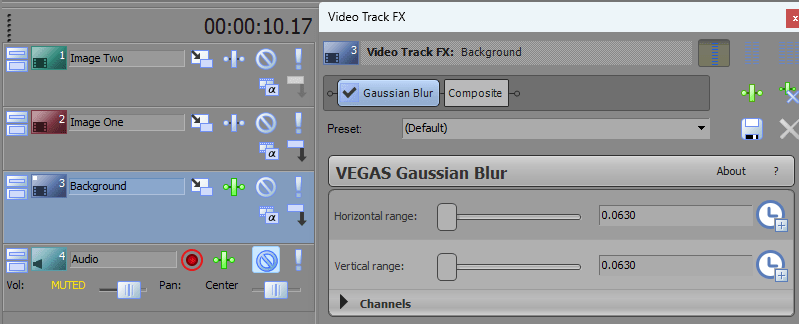
At this point, I found a neat trick! I could apply the blur effect to the whole track, not just each image. This made life 10x easier in the long run. I’d need to crop each image but at least it removes one repetitive job!
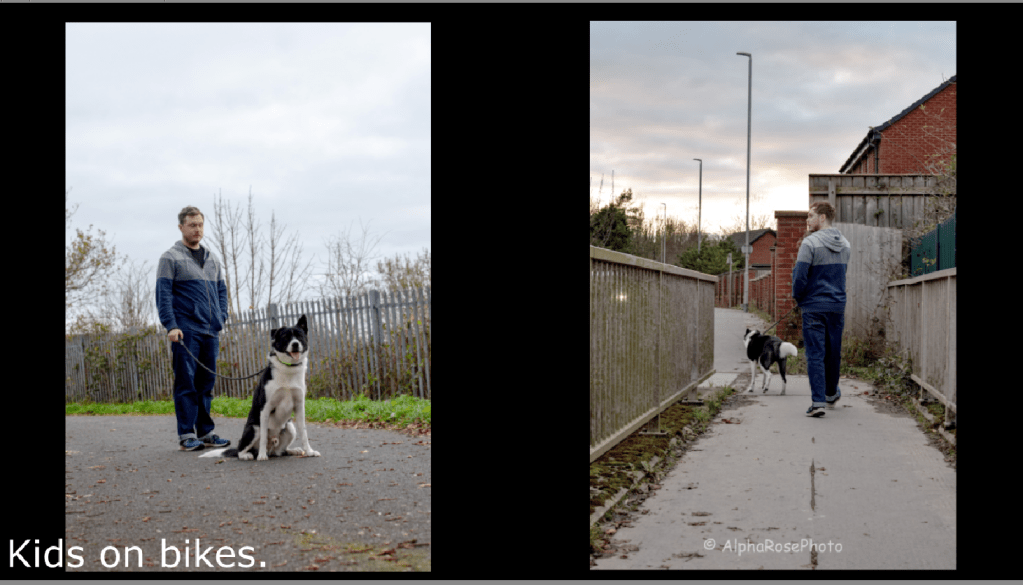
Portrait Images:
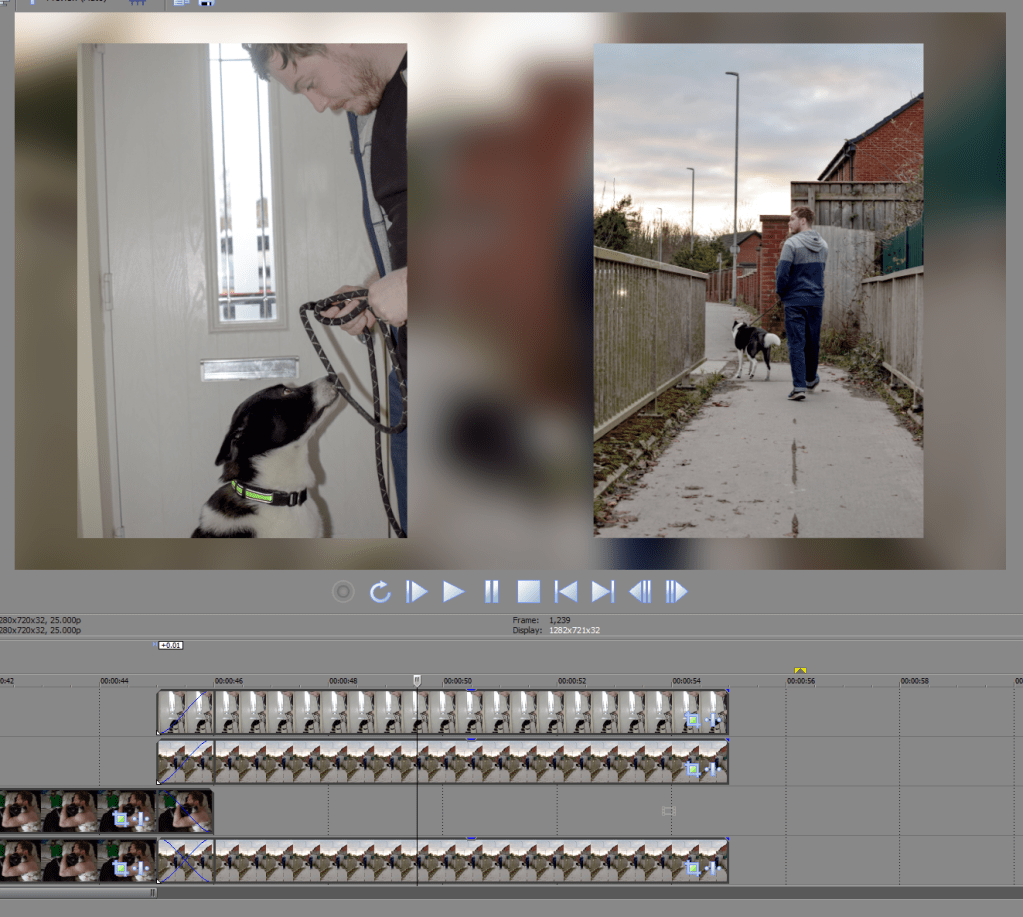
I repeated the effect of last time, one on the left, one on the right with one overall image covering the background. It looks beautiful! ❤
For organising purposes, I created tracks for each image type I had (Landscape, Port Left & Port Right). That’s why you’re seeing a lot of media tracks.
Timing
This time around, I wanted longer on each image and a smooth transition between the two. I gave each image 10s with 1s either side for a fade between.
This meant that, if you need the captions, you’ve got the time to read and see the image.
Sequencing
In the original export, the images made no coherent sense. I wanted to tell one big story with them. Although the images were taken over two days, you get the story of one day in the life of Koda Parents. Morning cuddles, A big walk, and evening at home. I started reordering the images to reflect this story and it made the video flow so much better!
For the portrait images, I made them read like a book, following the story. The above image shows this by Koda having his lead put on and then walking down the road.
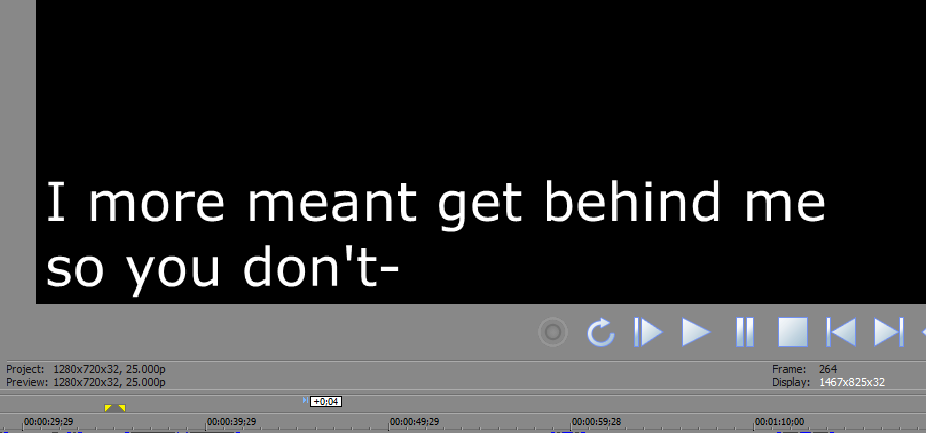
Captions
They were way too big and took up too much space. I kept them all to one line of text and making sure they don’t take over the image.
For the images where they’re brighter and the white text was being lost, I’d brought down the exposure of the background image so we didn’t lose the text.
Audio:
Not much needed changing here thankfully. I cut out the 8s of pure wind noise and lowered certain points that needed the reduction. Aside from that, it doesn’t really need much work.
Final Export:
I wanted to create two, one with the captions and one without. For my rather large monitor, I felt my eyes were darting around the screen like crazy trying to keep up. Personally, I prefer the “Without Captions” version but am very proud of the captioned version.
Final Export(s)
With Captions:
Without Captions:
Final Thoughts
I’ve missed this side of film. I’d forgotten how much I love video editing and getting lost in it for a bit. The whole “Trust the Process” bit and seeing the final result. Maybe that’s why the developing side of film resonated with me so much.
I’m so proud that I was able to create something of this caliber while also showcasing my photography work. I’m thinking of taking this idea and running with it when showing a collection of images in one fell swoop. It’s not a bad idea…


Leave a reply to LIVE DRAFT – Module Two: The Final Wrap Up – AlphaRose Photography Cancel reply