
Building Time!
I started by getting everything set up. I had ordered waxed thread and a range of book binding tools from Amazon and started working through them. Step one?
Binding
This alone caused it’s own set of problems.
First of all was that I’d accidentally flipped a few of the pages meaning I’d punctured the wrong side for binding. With this, I ended up having to reprint around 5 of the 14 pages.
Once I’d got everything punctured and lined up, I started following the binding tutorial.
It took me around 4 & 1/2 hours to bind the whole book, not including time taken out to fix issues. Or, as I actually measured it, around 5 episodes of The Rookie.
Just in this stage, I had a range of issues. To save reading time, I’ll break them down for you:
Reinforcing pages
In the tutorial, they mention using tape to reinforce the sides of the pages. As I was using card stock, I didn’t think this was something I’d need to worry about. I was wrong. As I got to page three, I was cruelly informed otherwise. That or I was just heavy handed. In stitching the page, I pulled the thread too tight and tore threw the paper.
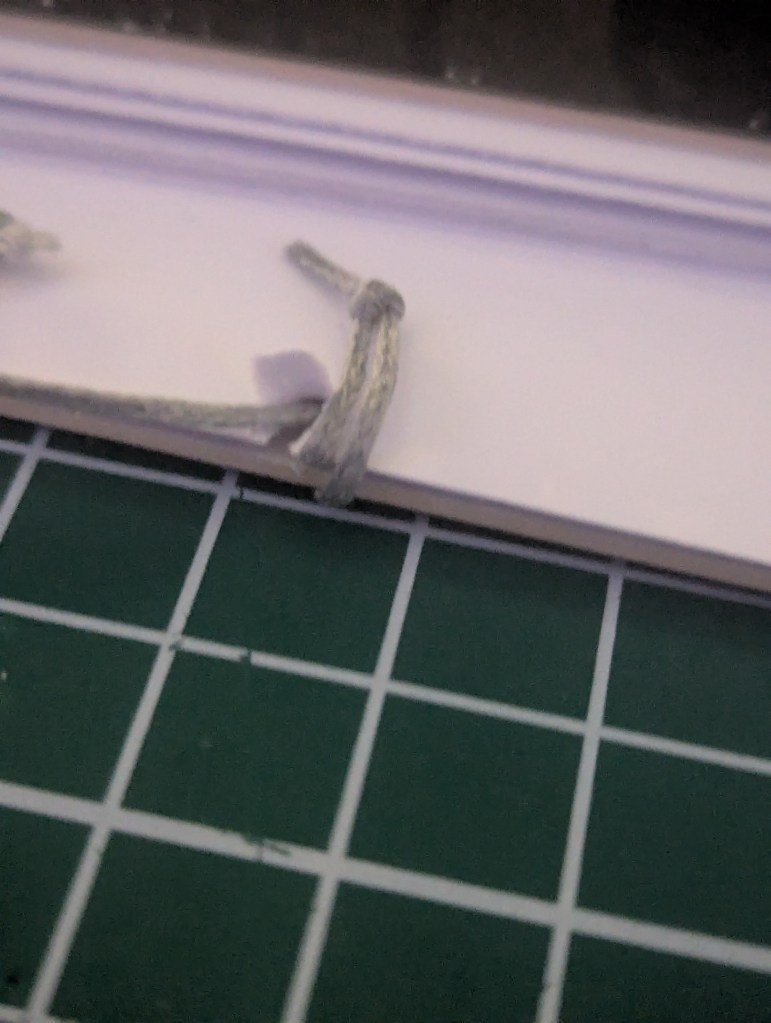
After a ranting phone call to mum, she mentioned how the wax thread acts like a knife through the paper. By using tape, I can use it as a buffer. This meant undoing everything, reprinting a few pages and lining them with tape. After doing this, it became a huge lifesaver. I did have a page tear later however, I was able to reprint that lone page and reinforce it there and then. This one was due to me being too heavy handed.
Securing Stitch
After I’d secured the cover, I watched the video and then repeated the step for each page. That being said, I did attempt to cheat the system. Whereas it instructs you to secure each page one thread at a time, I would secure 2-3 pages at a time. Weave one thread through 2-3 pages then move on. This system not only sped up the process but also caused me to skip a step and not realise.
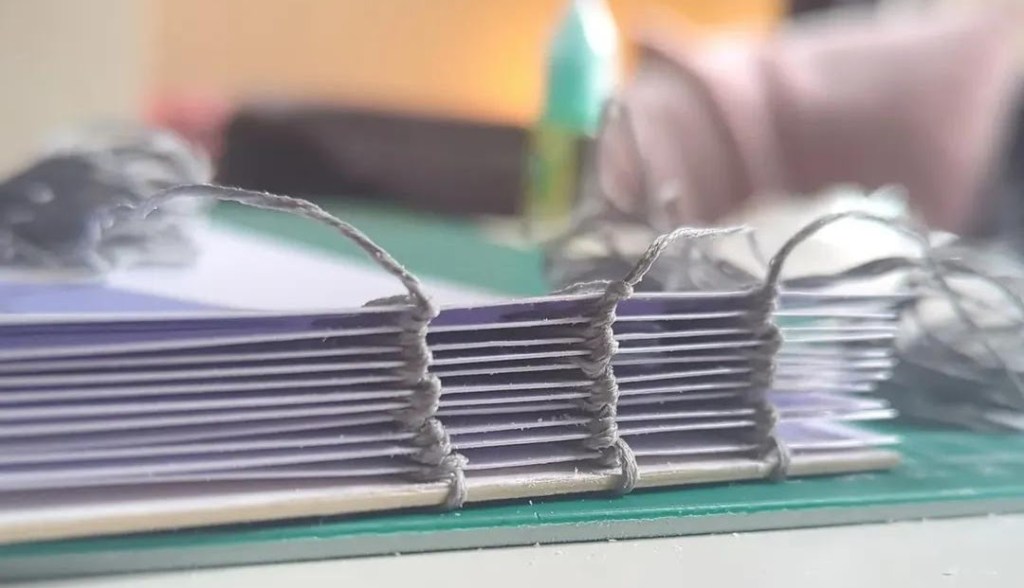
The tutorial requires you to stitch the page and secure the stitch above and below. I didn’t secure it below. This then meant that the spine could twist ever so slightly. I didn’t realise I had skipped this step until around hour 3, the effects of this until I was glueing the cover. I then had to make the choice of undoing everything I’d already done or carrying on and praying. I chose the pray option.
It did hold all the way through and still created the desired effect. The only issue was that the spine wasn’t locked into place. I planned to see this through to the end and should it fail, restart. I had enough time spare at this point.
Reprinting the Wrong Page
During one of the many reprinting stages, I realised there was supposed to be a title and name on the cover. I went back into InDesign, added the text and re-exported it. After the issue with the thread cutting through the pages, I had to reprint the cover. Unfortunately, it wasn’t until much later I’d realised I’d printed the wrong cover page.
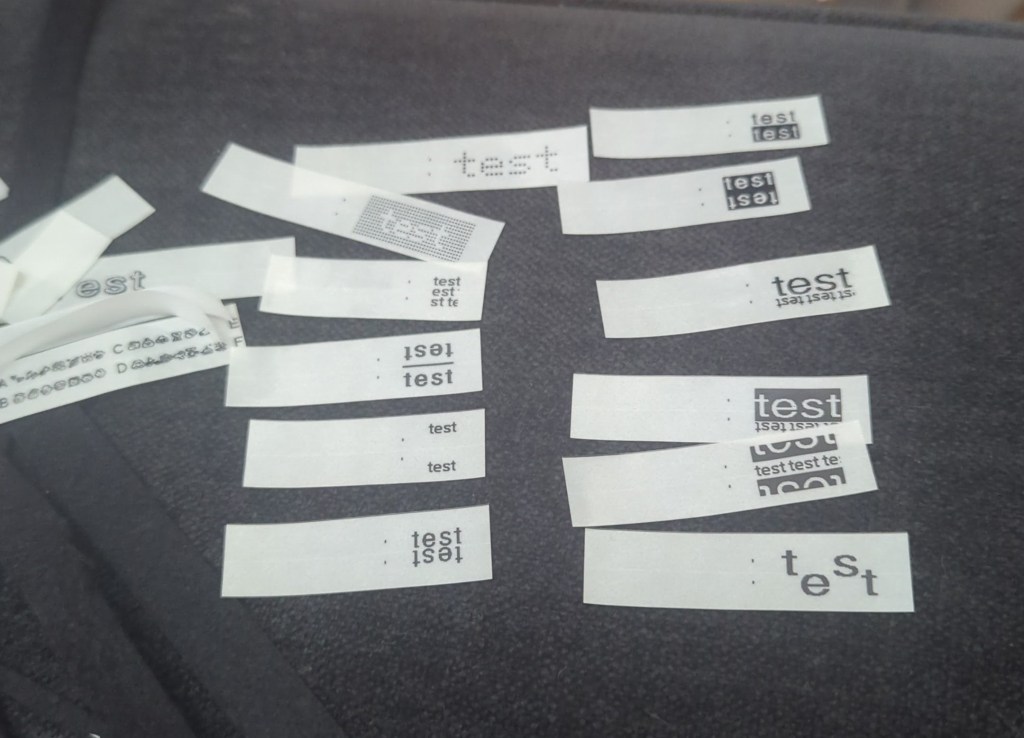
I could just handwrite my name and title on however my handwriting isn’t the greatest. That was when I remembered I have a Label Printer (don’t ask). I spent a while with the settings trying to find a typeface, size and style that matched the books theme. Ultimately, I found a simple italicised font with an underline that worked. I used transparent tape to print, meaning it had a slight shine but wasn’t overly noticeable.
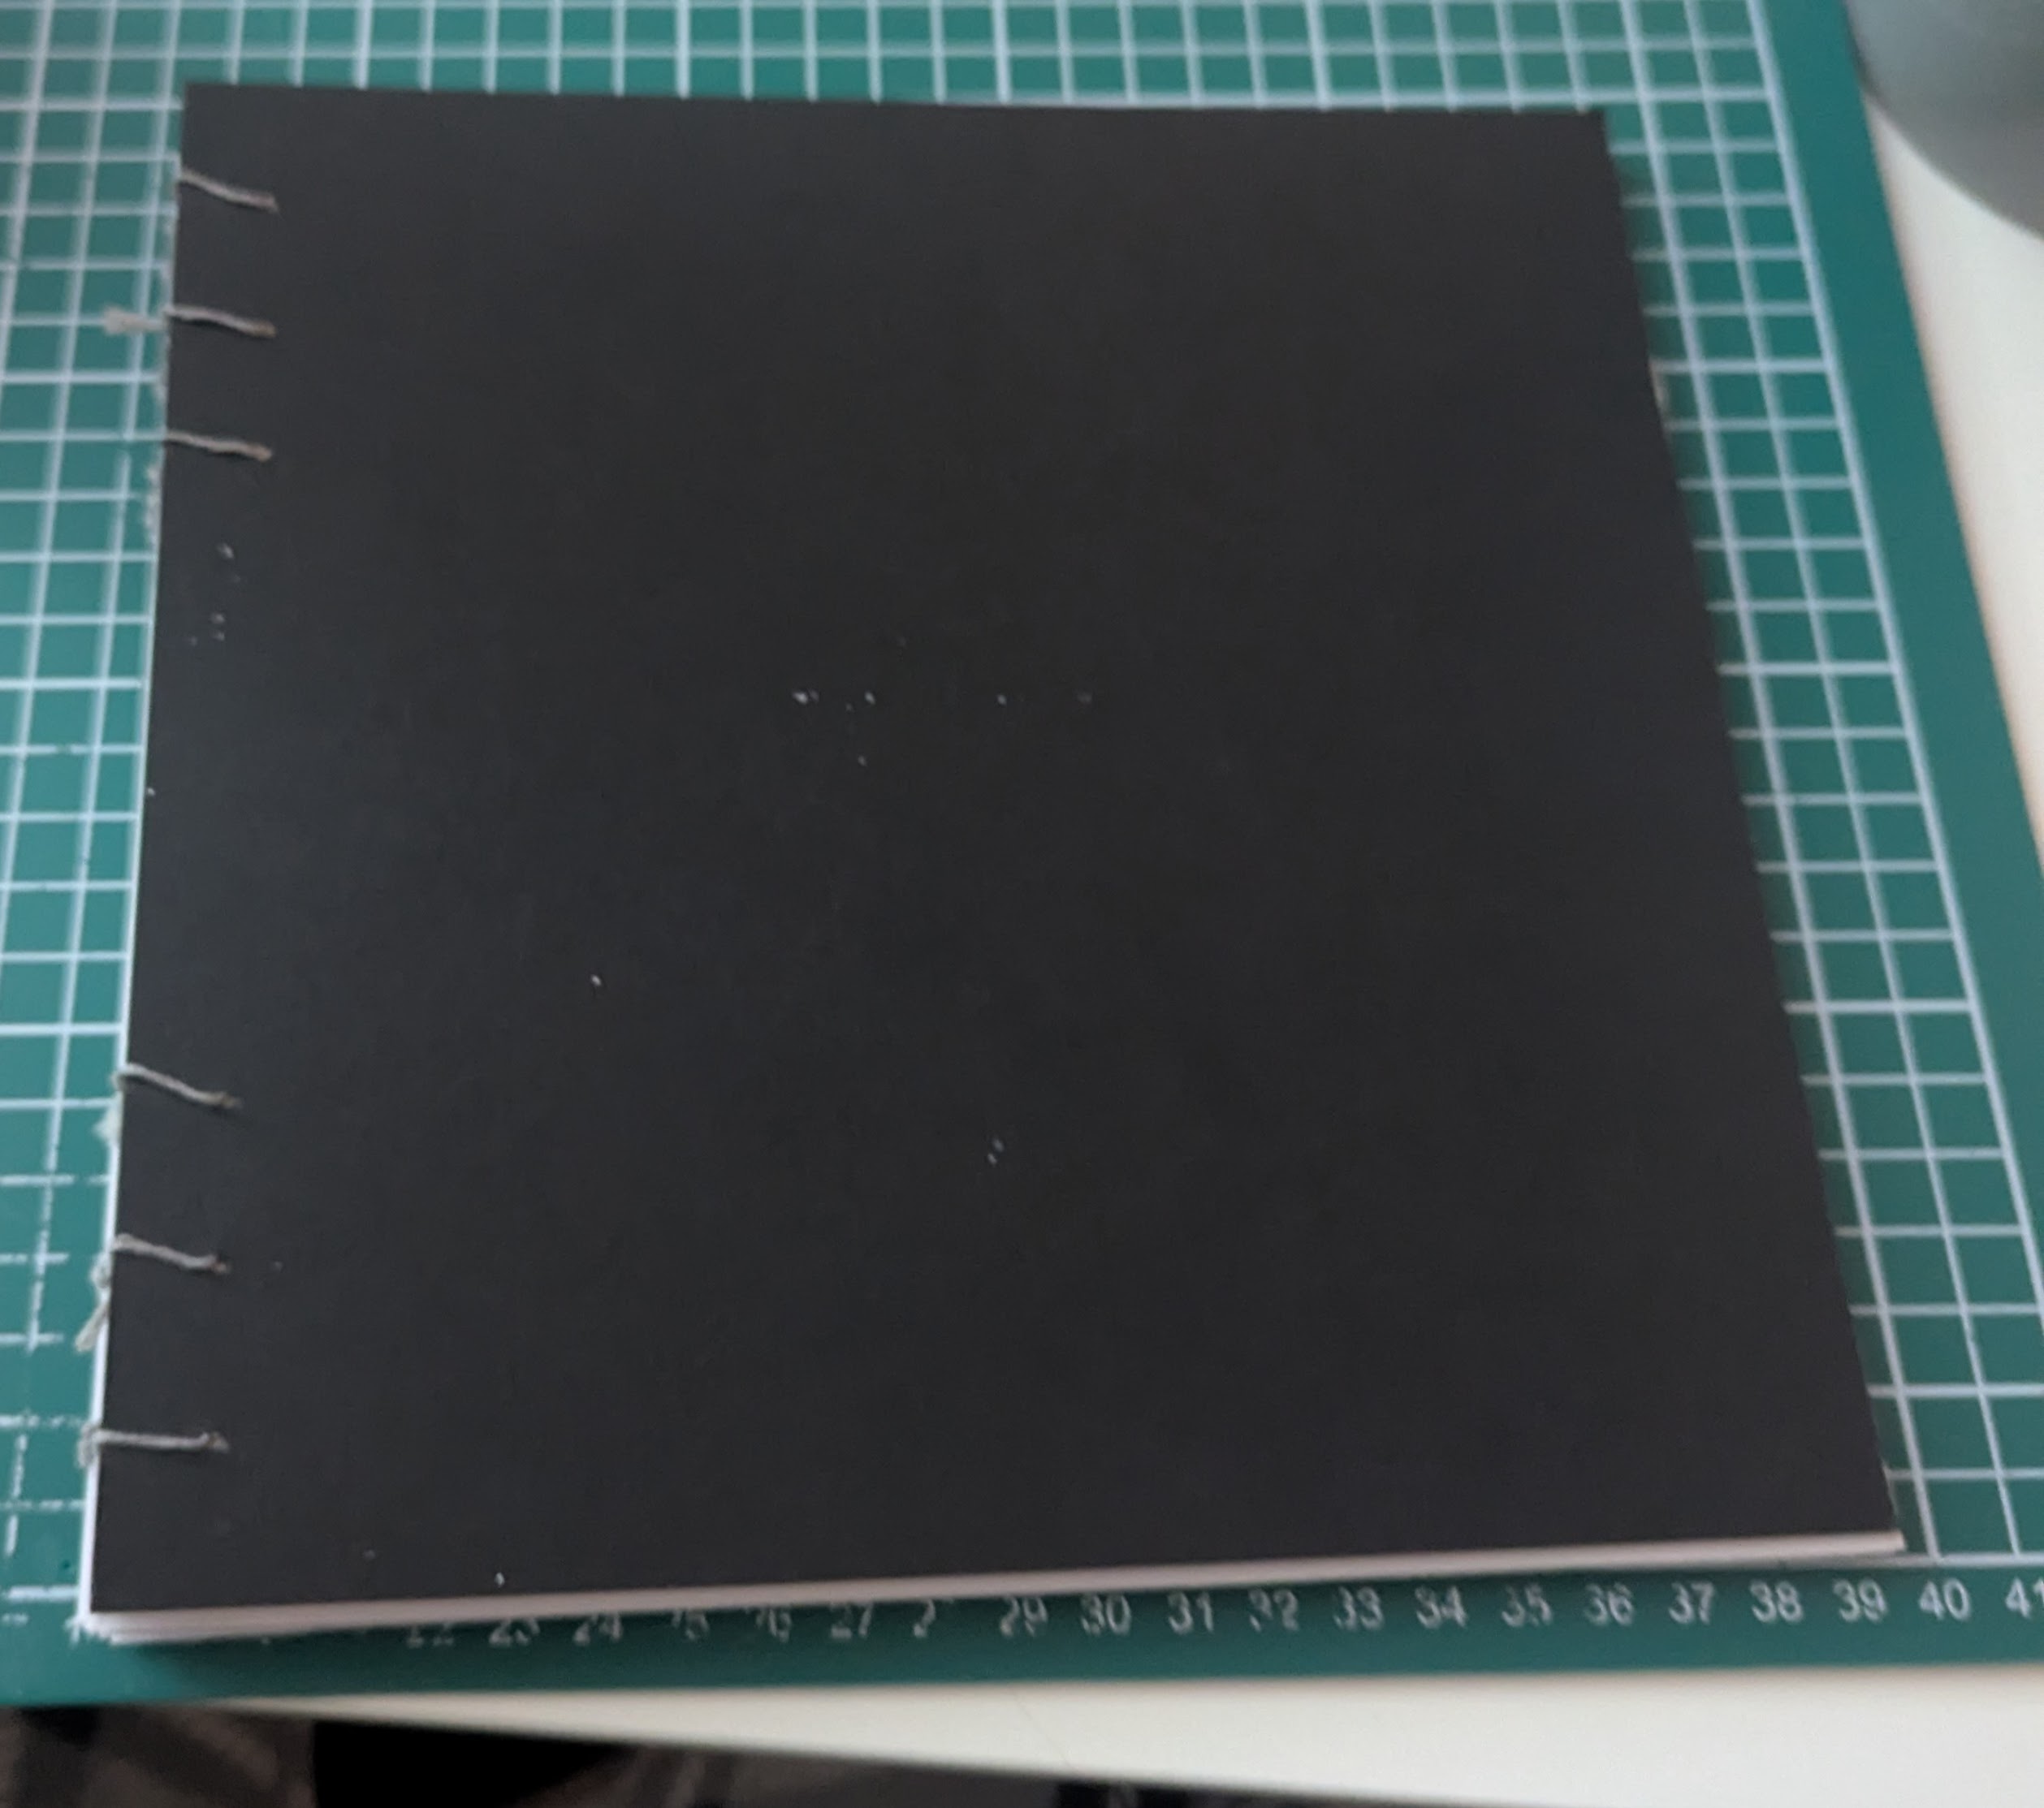
Overall
I’m really happy with how it came out. I know it can be better and if I wanted to, I could have another attempt. That being said, having the little errors and scuffs adds some charm to it. Whereas not many will know this is my first attempt, it’s a difficult binding technique that has been pulled off.
Cover Time!
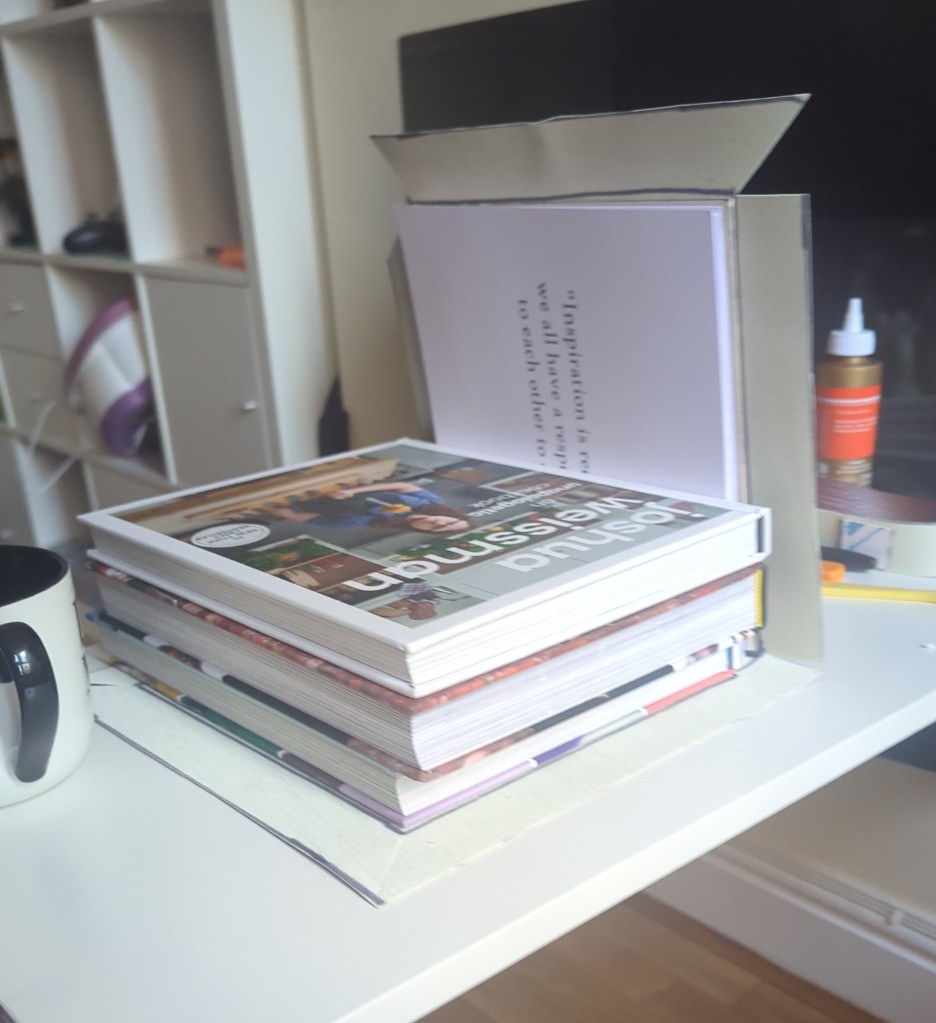
I started out by laying the book flat on the leatherette, drawing around the cover, spine and duplicating the cover. Then added a border around the edges of around 2cm. It wasn’t the prettiest of patterns however it did the job. I then glued down the front cover, weighing it down with multiple cookbooks. I wanted to make sure whatever I used to weight it down had a larger surface area than the book. Meaning that there was even pressure across the page.
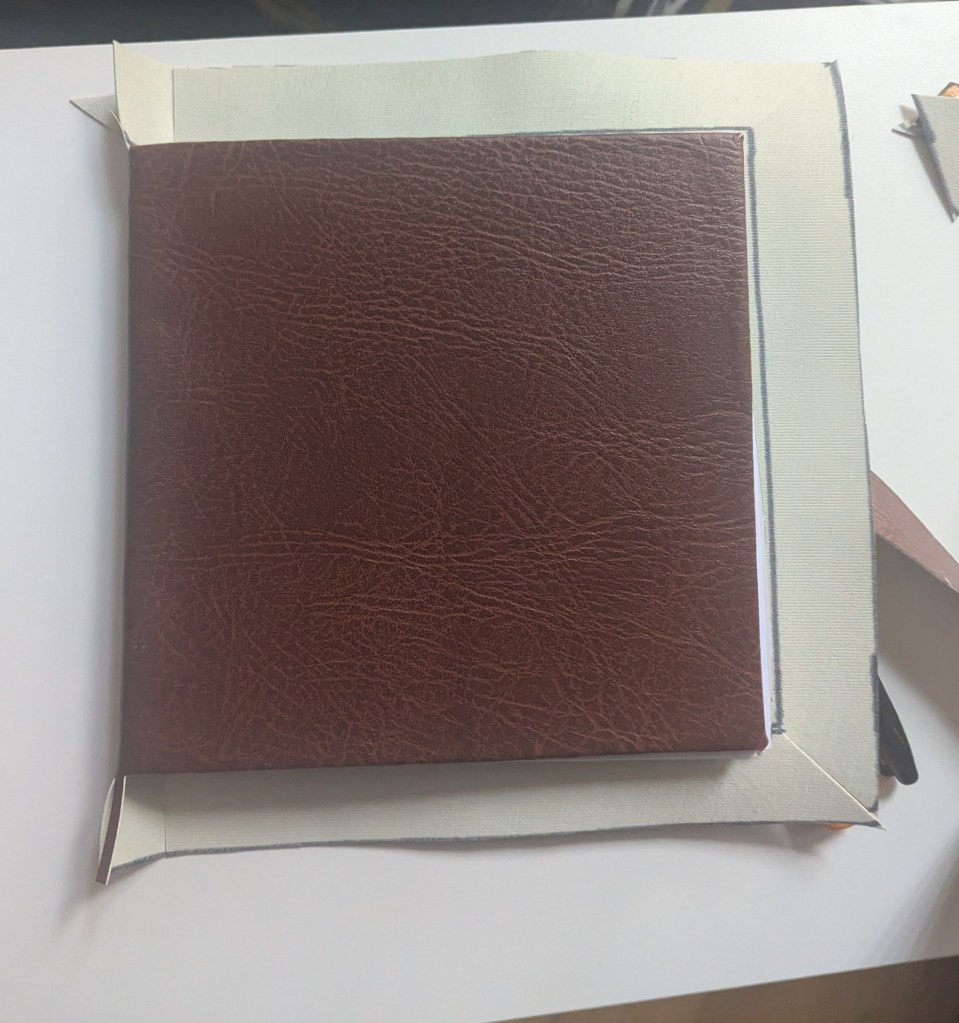
While waiting for the other side to dry, I started looking at how to cut the corners so that I didn’t end up with overlapping leather. It would create a bulge that would effect how the felt would stick after. As I’d not been taking exact measurements, which in hindsight was a fatal mistake, I had to work by eye. As you can see above, I started by taking the corners in and creating a triangular point. Using this, I attempted to cut them down to meet in the corners. This worked a solid 75% of the time.
On two corners I ended up cutting too close and pulled it away from the mountboard slightly. On another I had a slight overlap on the leather. Overall though, the corners came together nicely and surprisingly clean.
It was at this stage, she knew… she’d messed up
I had forgotten to include the clasp offcut in my pattern design.
Meaning I had no clasp. The one thing I wanted to include, I had completely forgotten to do.
After an hour or so of researching methods on how to add a clasp after the covering, I elected to forgo the clasp idea and carry on as I was. Without risking the binding or damaging the cover, I couldn’t find a way to add it securely.
The Decal
While I was waiting for the last round of glue to dry, I started using an offcut of leatherette to test out the different pens I’d bought to draw the cover decal.
I started testing the different paint pens, both in writing and with filling colour. After waiting for them to dry, scuffed the life out of them to make sure they’d hold up with repeated handling.
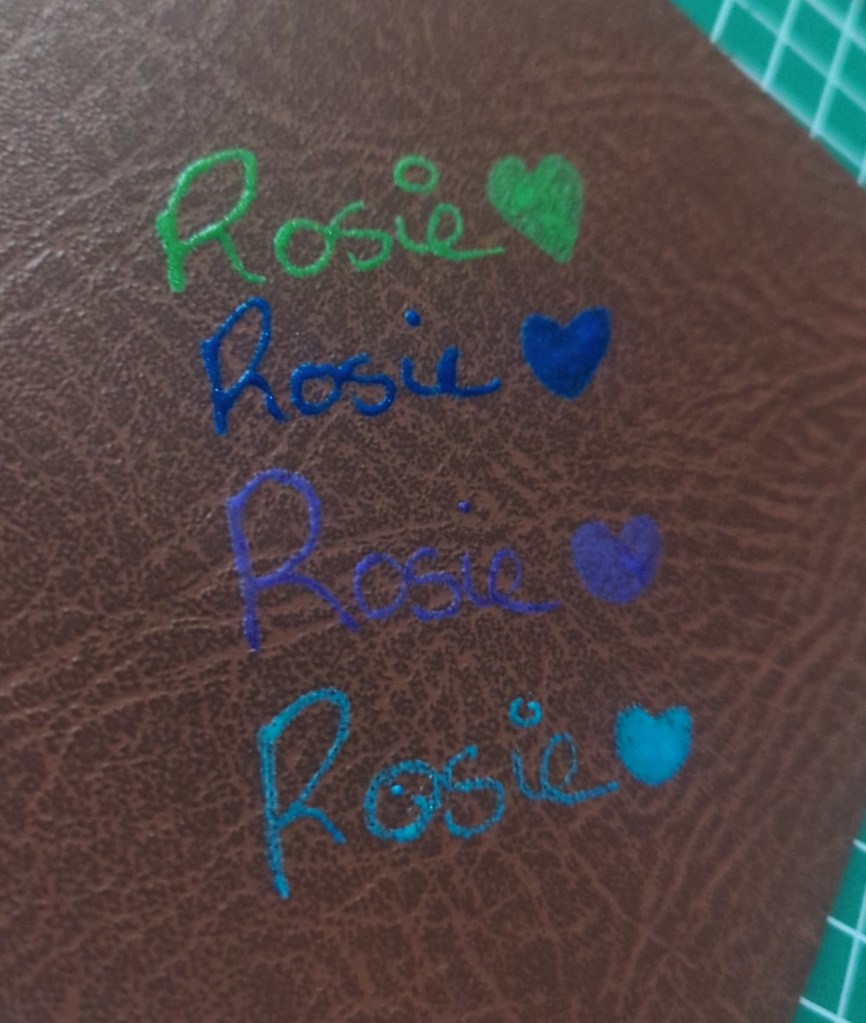
The purple was the colour I wanted however it wasn’t showing up well with a single line, it had to be block colour where I could layer over it. With this, I started looking at how I wanted the decal to be laid out.
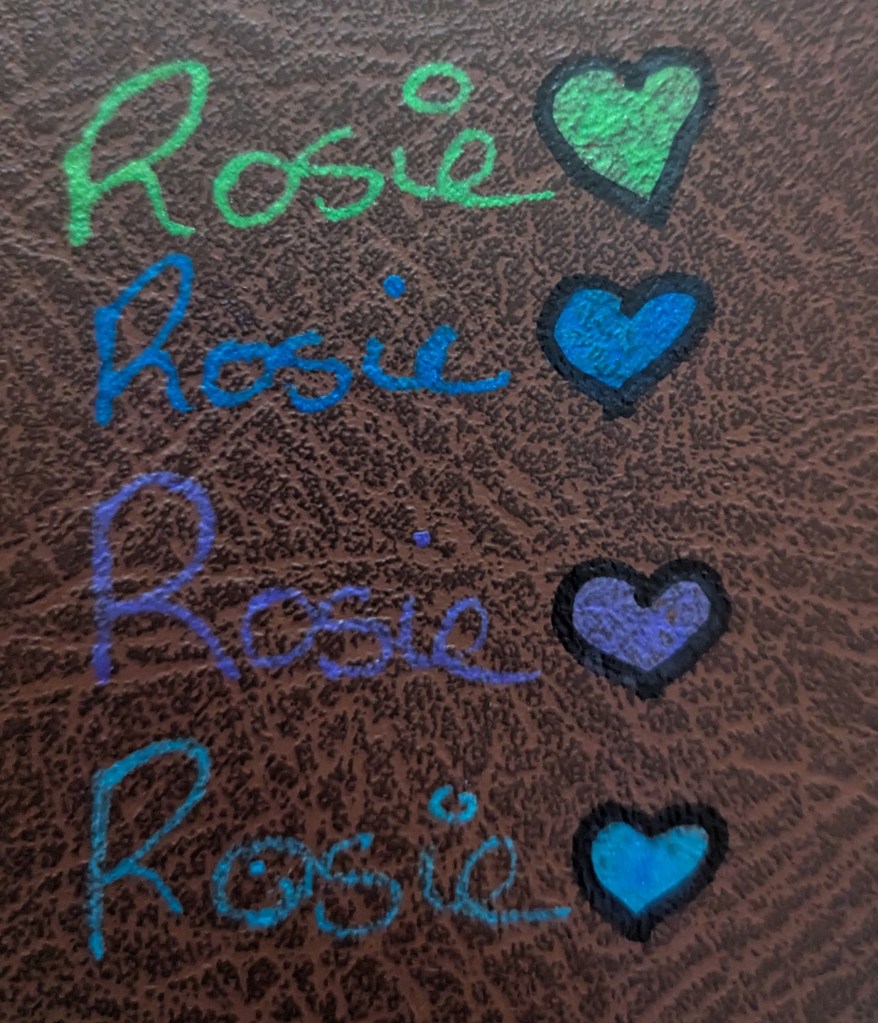
Originally I was hoping to just include the line work, no colour however after seeing how the paint reacts to the fabric, I would need to have thicker lines. With this, I thought about using the Sharpies to outline the block colour. Both to intensify the colour and hide any impurities.
At this stage the cover had dried and was ready to be handled. To wrap up this stage, I took a piece of black felt, cut it down to size and glued it onto the back of the covers. This would hide the wrapped corners and create a clean look.
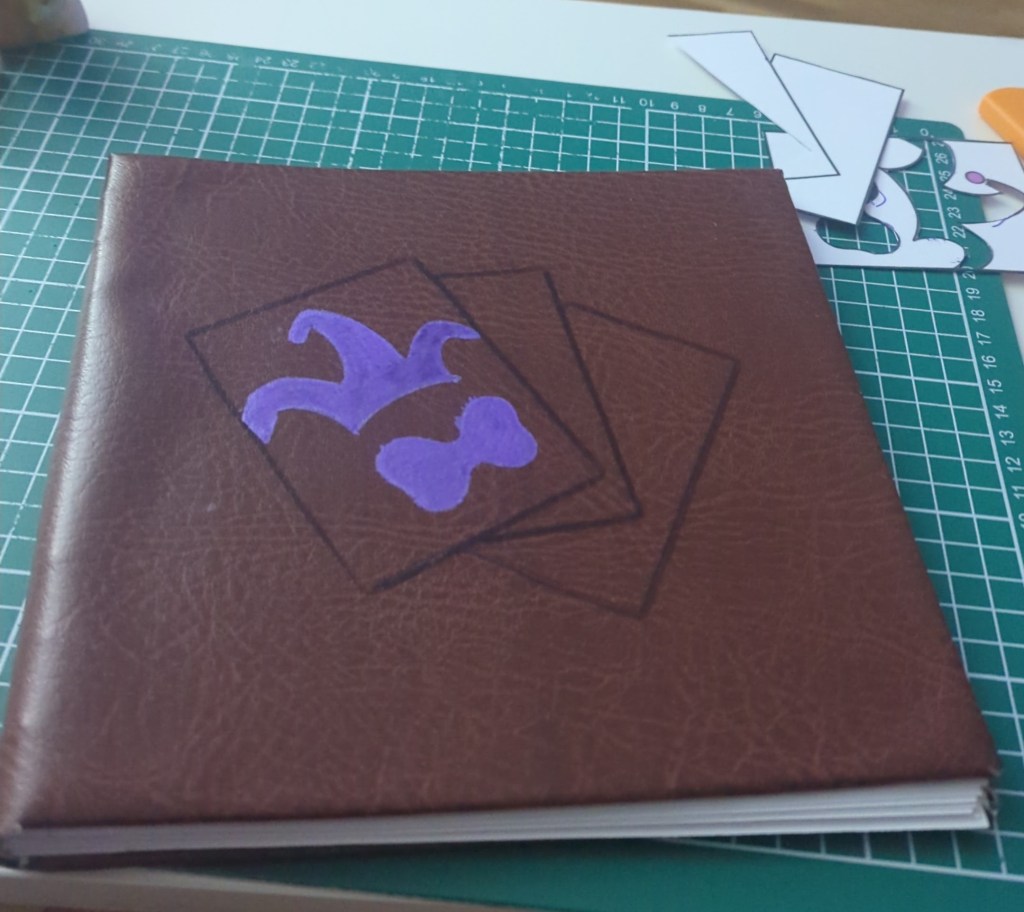
Once everything had dried on the book, I started working on the final piece. I started by using a previously damaged cover page and cutting out the decal to use as a template. After adding the card outlines, I started on the logo. This required a few layers of paint but created a wonderful effect.
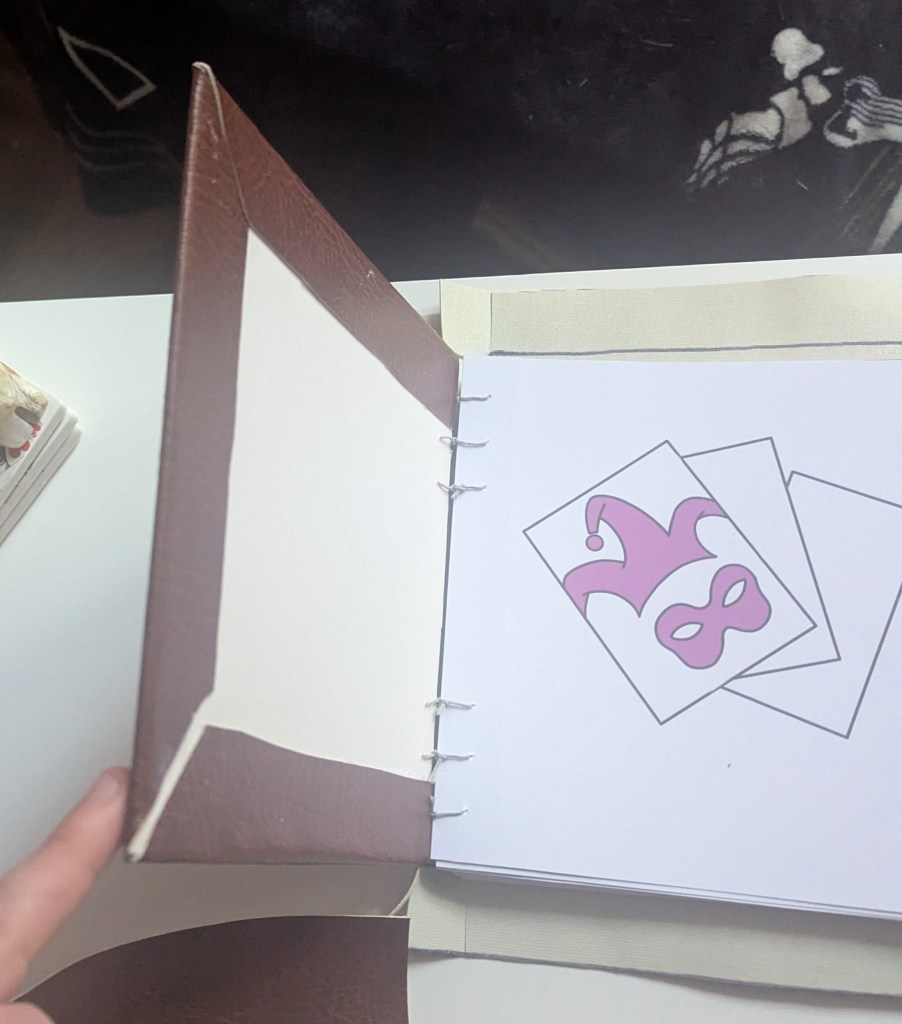
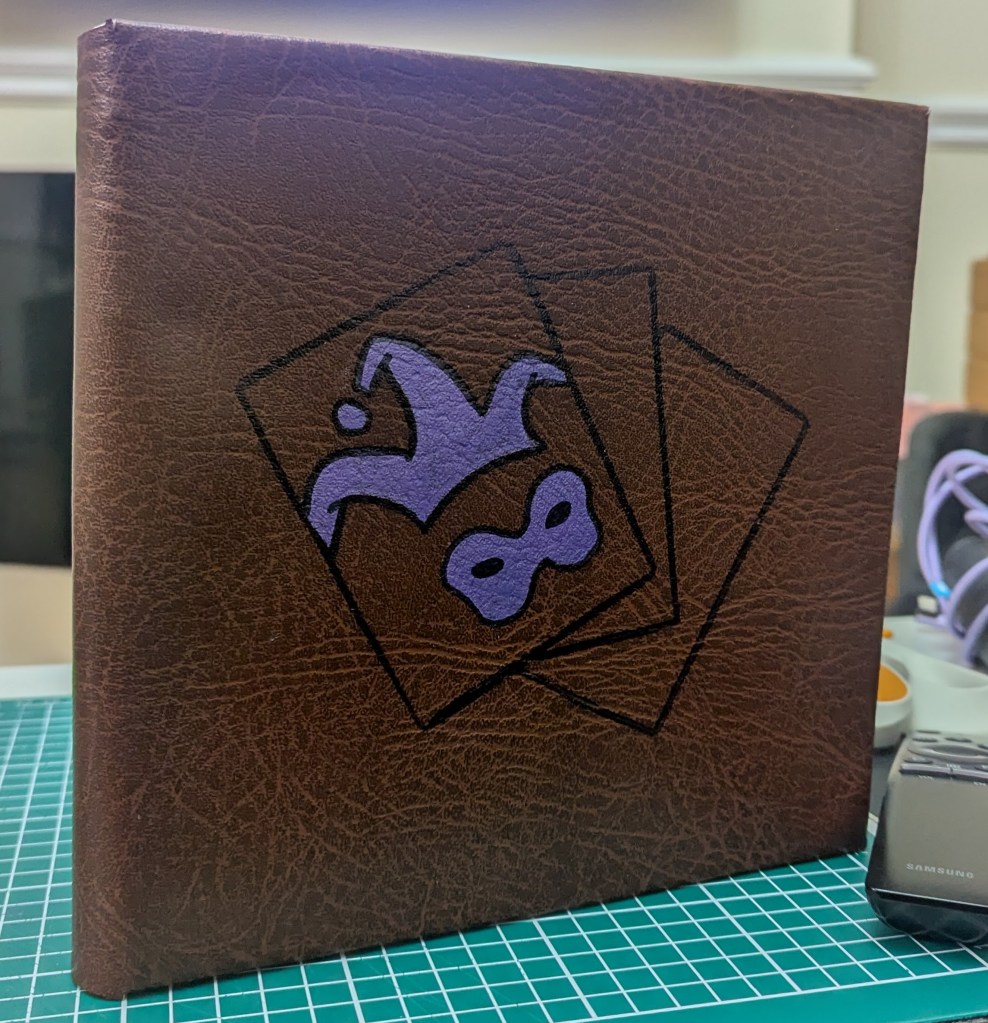
Once dried, I outlined with the sharpie and cleaned up the edges. You can see in the photograph the spinal issue I mentioned previously where it would twist slightly. Again, an issue however not a detrimental one.
With the decal done, the book was finished!
Conclusion and Thoughts
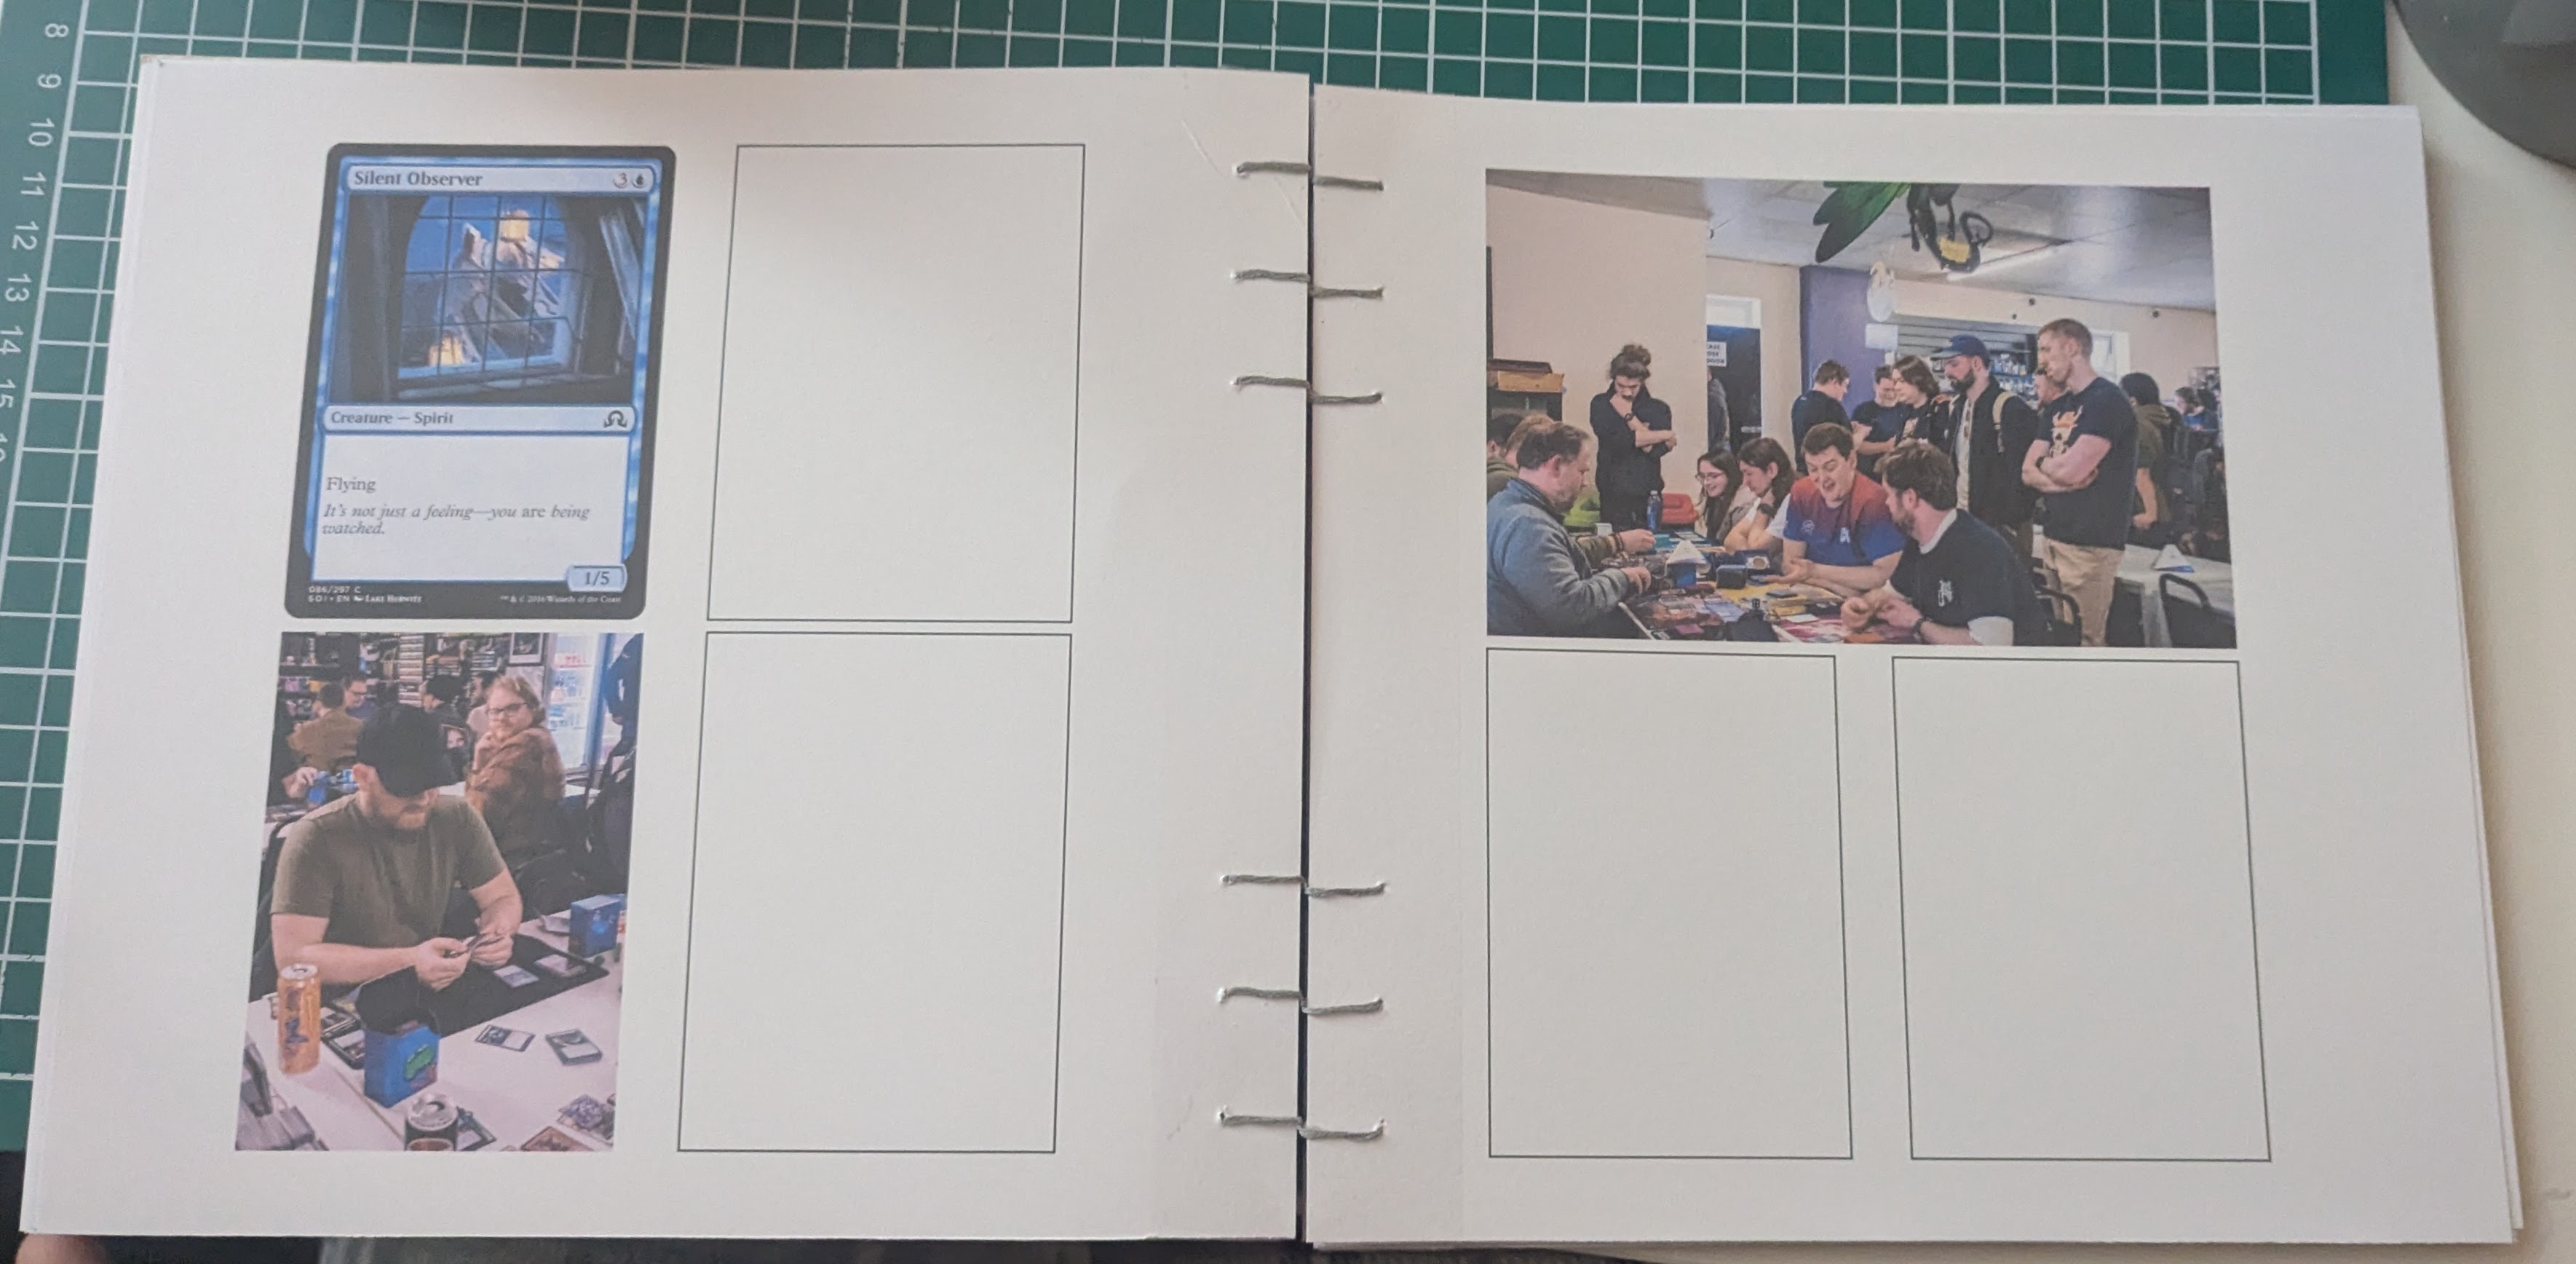
Overall, this was a wonderful experience. I’d never attempted bookbinding before, let alone at this scale. It was a long process with a whole heap of issues, mistakes and learning curves. I love the feel of a card binder the book gives. With the blank spaces, it feels like you’re waiting for the next cards to be added. I do feel like some of the pages are too busy however, am still in love with the concept.
As a thank you to Harlequins for letting me photograph their store and customers, I have offered to make them their own copy of the book. From this experience, I know that I need to slow down a tad and take it a step at a time. Trying to cheat the process causes mistakes that can cost the whole project. Case & Point, skipping one of the stitches that secures the spine.
The leatherette was a fantastic idea and added so much character to the book. I do wish I’d picked a lighter colour, allowing the colour to stand out more. Given that I had no tutorial or pattern, I was so proud of how the cover came out overall. It was sleek, clean but also showed that it was handmade.
Wrapping this all up, I cannot wait to try this again in my own time. It’s opened a whole new way to think about creating work going forward and the idea of telling a story really helps.


Leave a comment