The last big hurrah!
TLDR;
35mm Portraits in the STudio, a few of my family in Sleaford and all the darkroom drama!
- The Studio Idea
- A Quick Trip Home
- Monday 8th December
- Here comes trouble…
- Thursday 11th December
- Monday 15th December – The Big Test.
- Tuesday 16th December
- Wednesday 17th December
- Final Print(s)
- Final Thoughts
The Studio Idea
We needed a studio shoot and didn’t have much time. This meant calling in the cavalry (Ed & Lottie). We booked the studio but then was stuck with what are we actually going to shoot.
I’d just wrapped up the lecture about stories and showing minority groups/opinions within photography. This gave me the idea of clothing/gender identity.
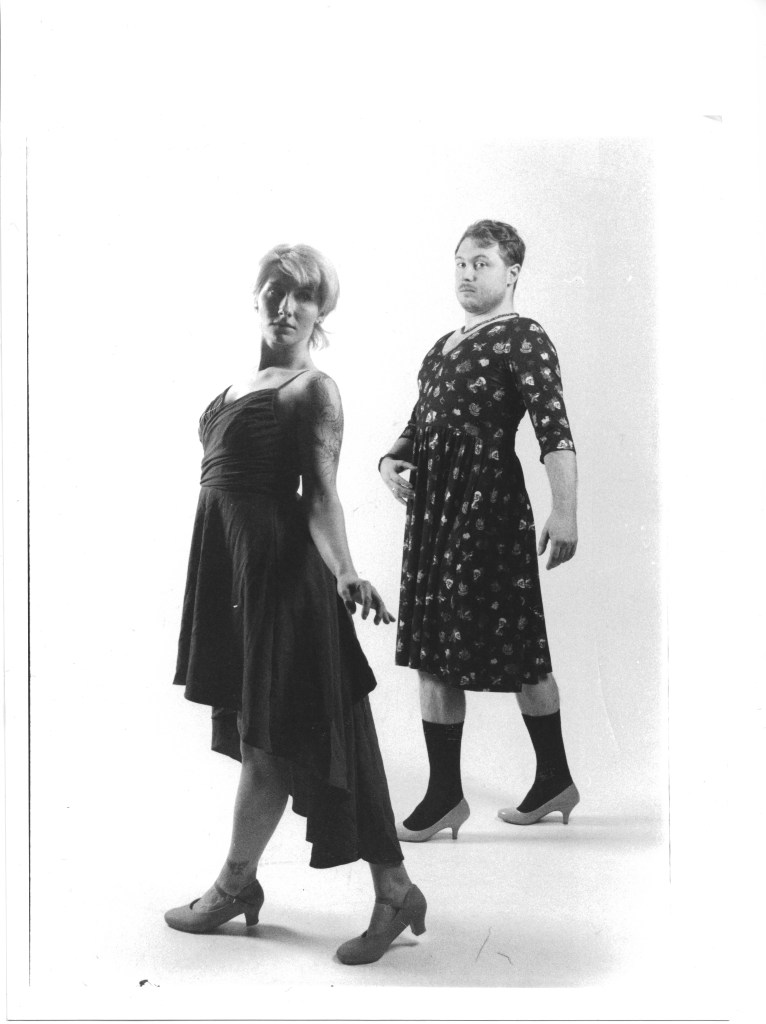
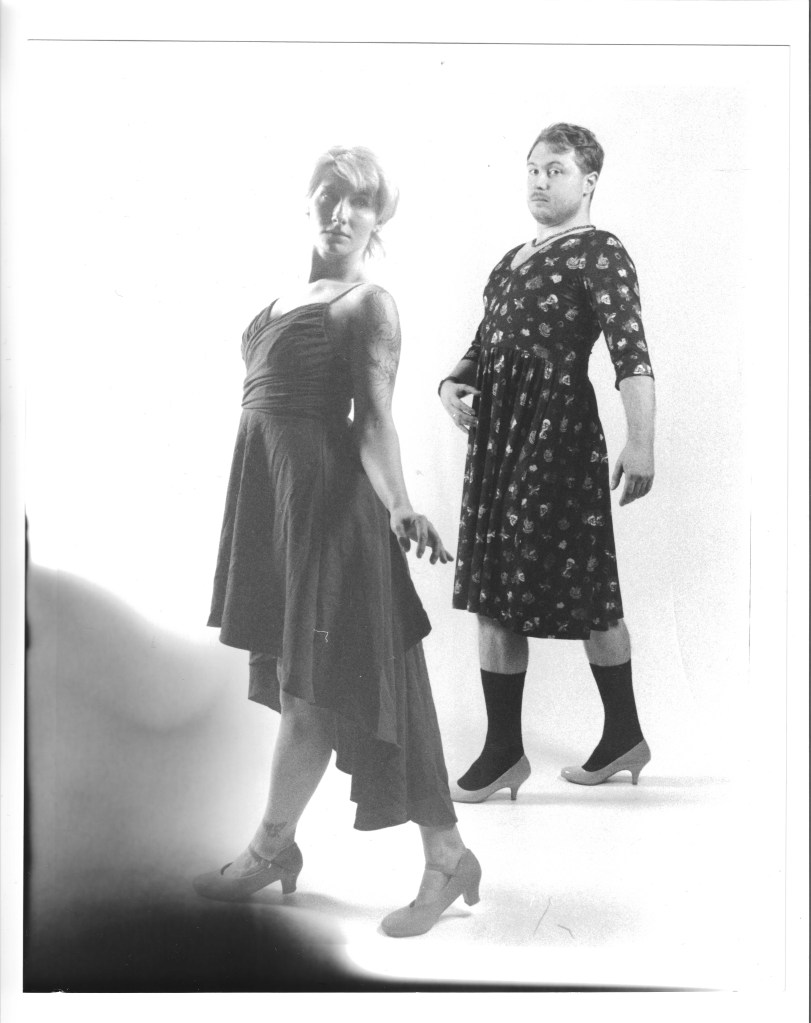
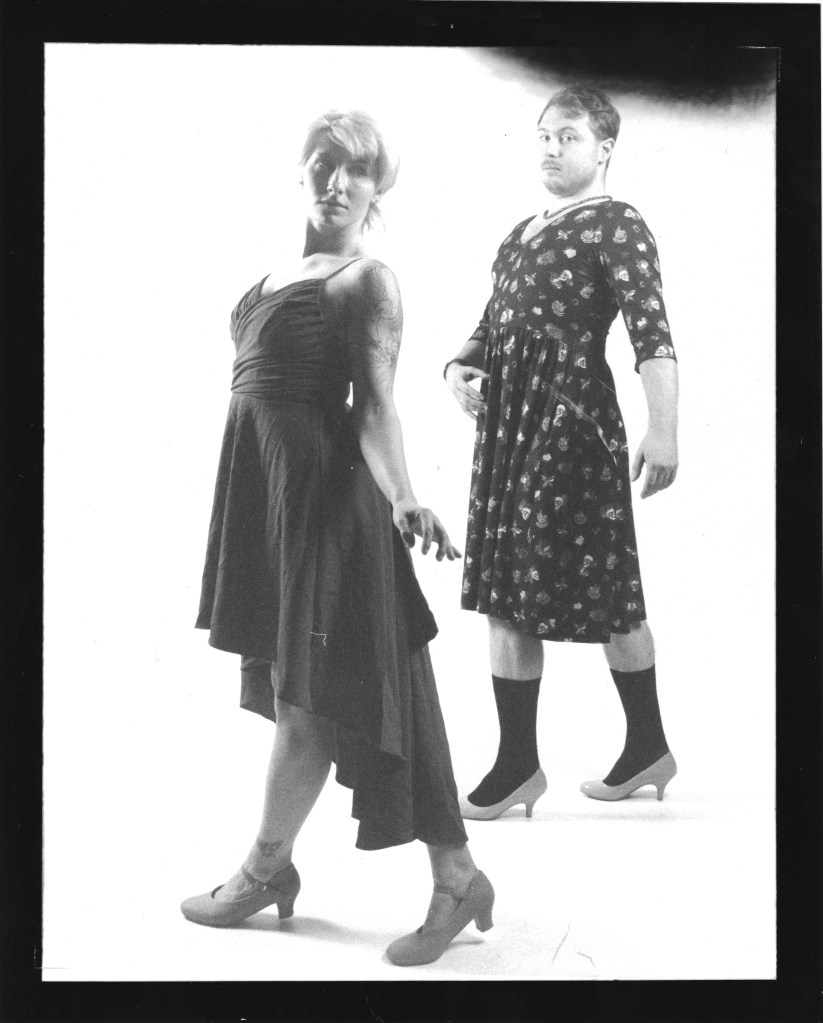
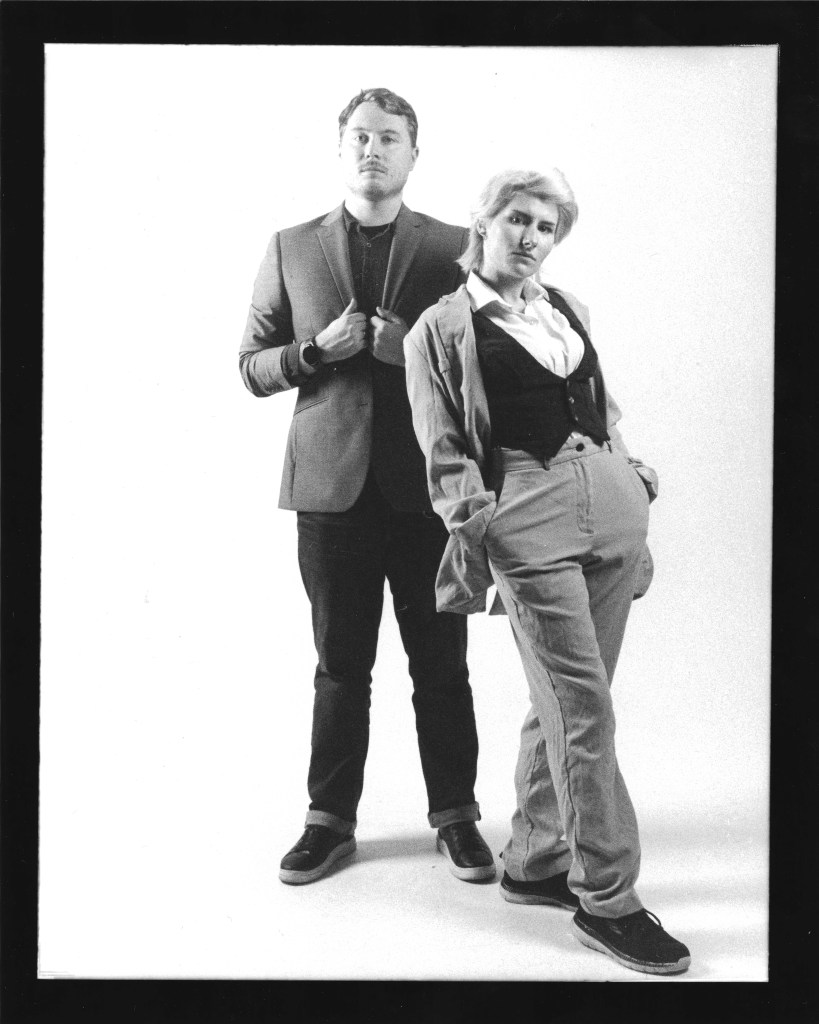
Lottie dresses very gender-neutral whereas Ed styles as your traditional masculine male. As an added bonus, Ed and I are both similar sizes in clothing. Meaning that, if we needed any feminine clothing, he can wear mine. From this, the idea bloomed.
Two very different people, three distinct styles. Trad Masc., Trad Fem and Trad Them.
This also gave me a beautiful excuse to get Ed to wear one of my dresses!
If you want to see how the studio shoot went, I’ve dedicated a post to the whole ordeal and the digital shots that came of it.
A Quick Trip Home
Some periods of time are rough and you just need to get away from it all for a while. Decompress and get your head back on straight. For me, that escape is visiting my parents back in Sleaford.
Quick info about Sleaford – Small town in-between Grantham and Lincoln. Population of about 20’000 people and just as many charity shops. I was born and raised here. This is my first home and where all my family are. It’s a wee bit away but is always worth the trip.
That and mum makes a mean lamb dinner…
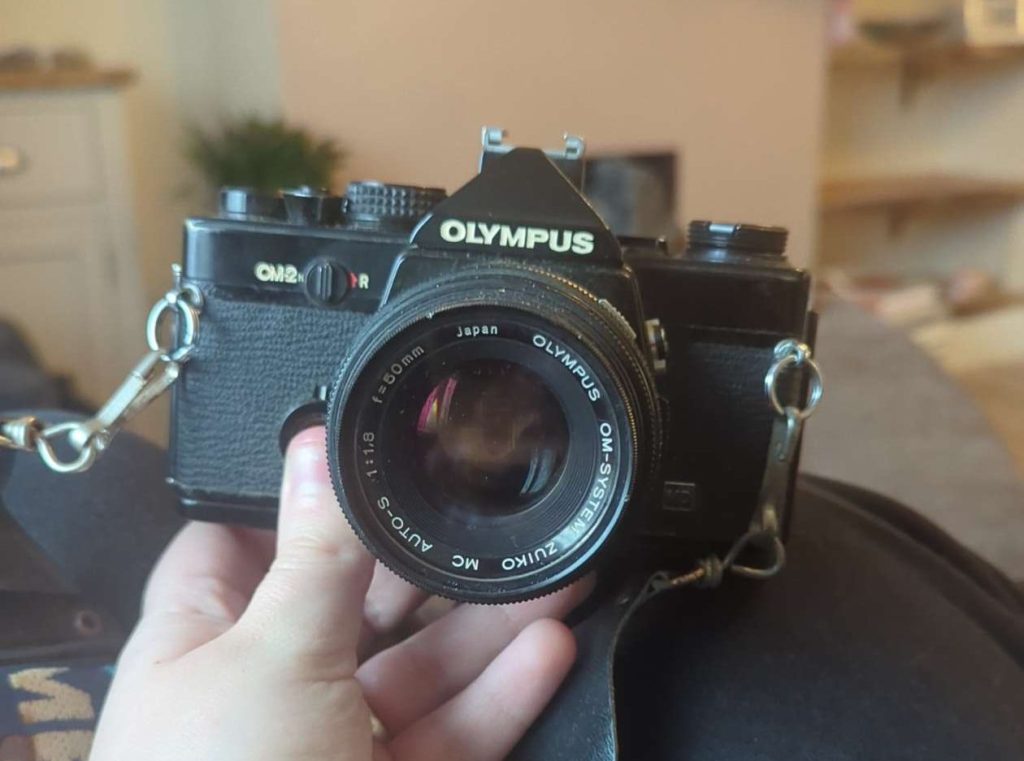
My Dad, being the massive photography nut he is, was a huge help and influence on this section. This module, focusing hard on the analogue side, was something that he was loving as well. When visiting back home, Mum had paid for some more rolls of film & Pops had gifted me his old Olympus 35mm camera and extra lenses. They need some TLC so aren’t functional at the moment but I hope to get it up and running again soon.
He also taught me some tricks on how to take photos quickly while still making sure they’re good. It was a lifesaver!
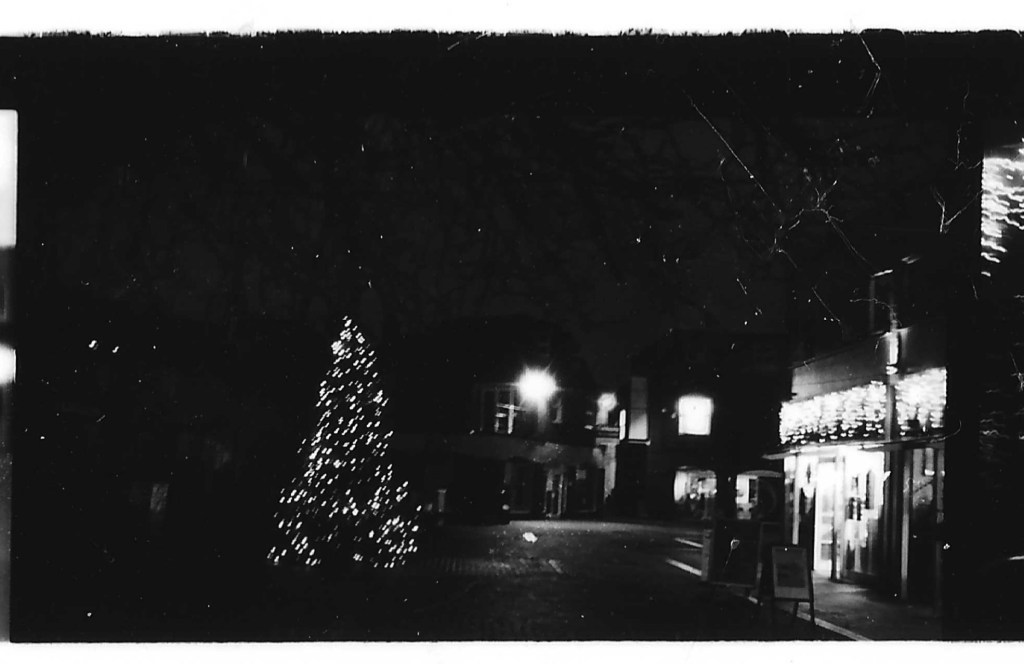
Saturday afternoon, Mum and I pop into town for a gander. While around, in a safe place for me, the confidence returned and I start attempting to get photos of Sleaford Town.
This, like a lot of my experience with anything analogue, did not go to plan.
It’s winter, it’s dark, longer shutter speed. It’s cold, I’m shivering. A lot of the images came through blurry. For once, not due to my eyes.
The other issue? We ran out of film halfway around town.
Haven’t experienced that issue since 2006…
After our trip into Sleaford Town, Pops & I grabbed a brew and talked Photography, his history and darkroom development.
A few notable points:
David Bailey
I’d researched his work in passing, from the Unlikely Alliances week, but didn’t know much about him. He was Pop’s favourite photographer growing up and inspired him a lot. The only reason he bought the Olympus Camera he did was because that was the exact one David Bailey used.
Looking at his portrait work from 1985, This sent us down a rabbit hole of the Swinging 60’s, the stories of Mick Jagger and a certain chocolate brand iykyk.
I’ll cover his work at some point in more detail in one of my research pages.
Polaroids
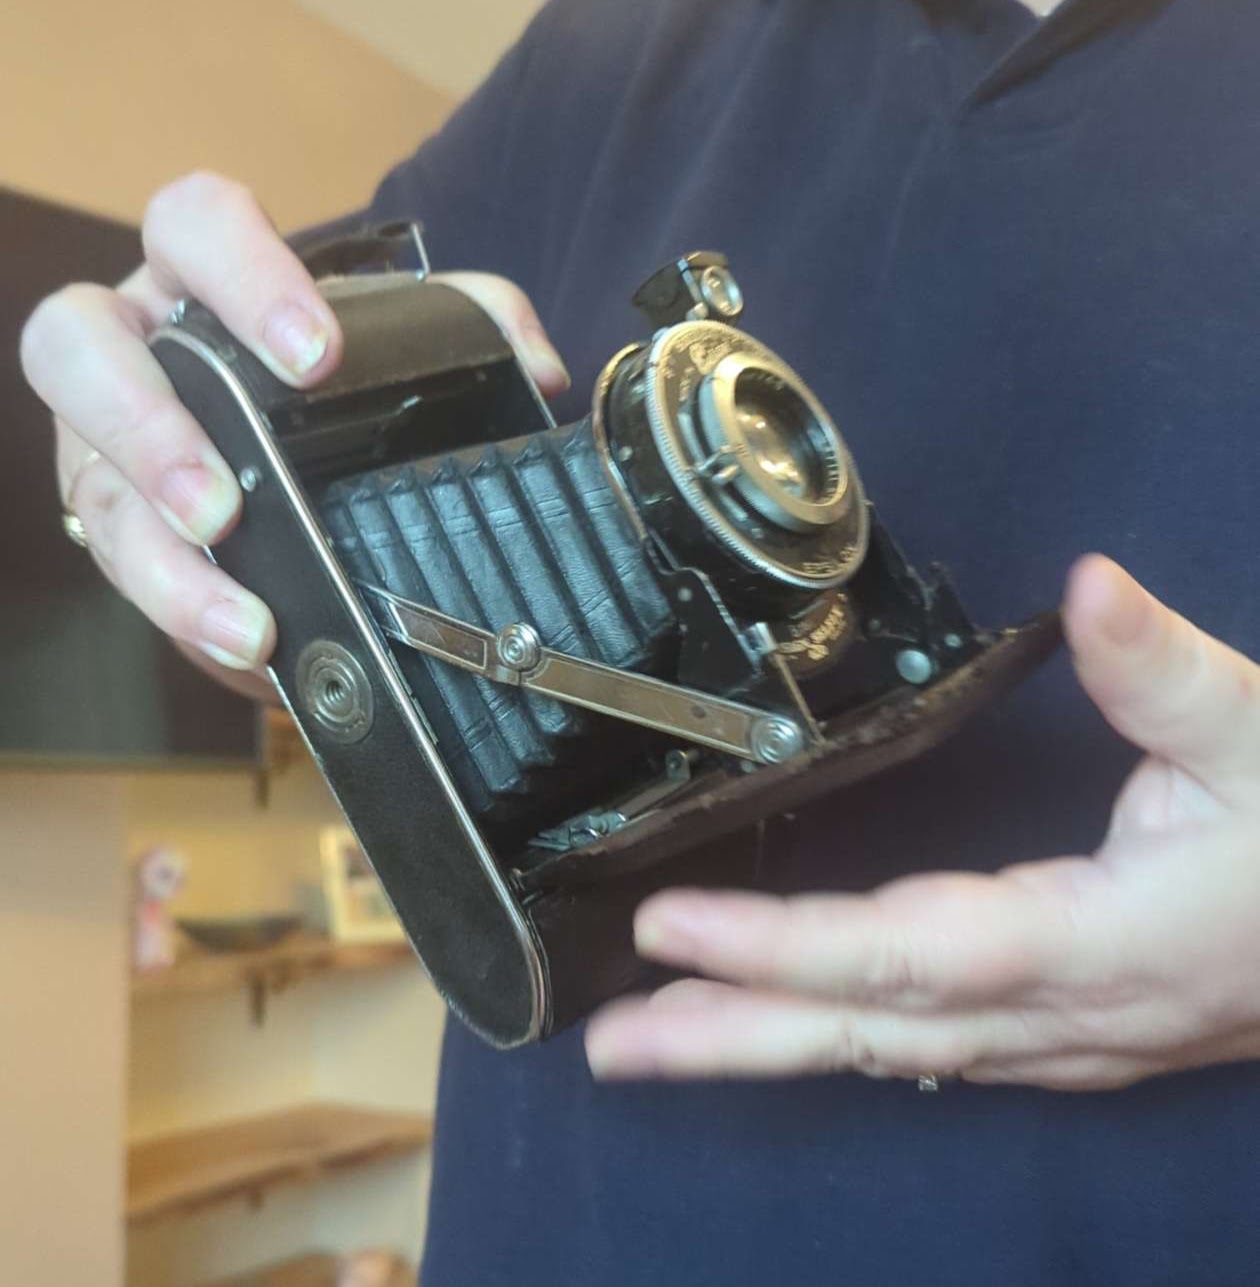
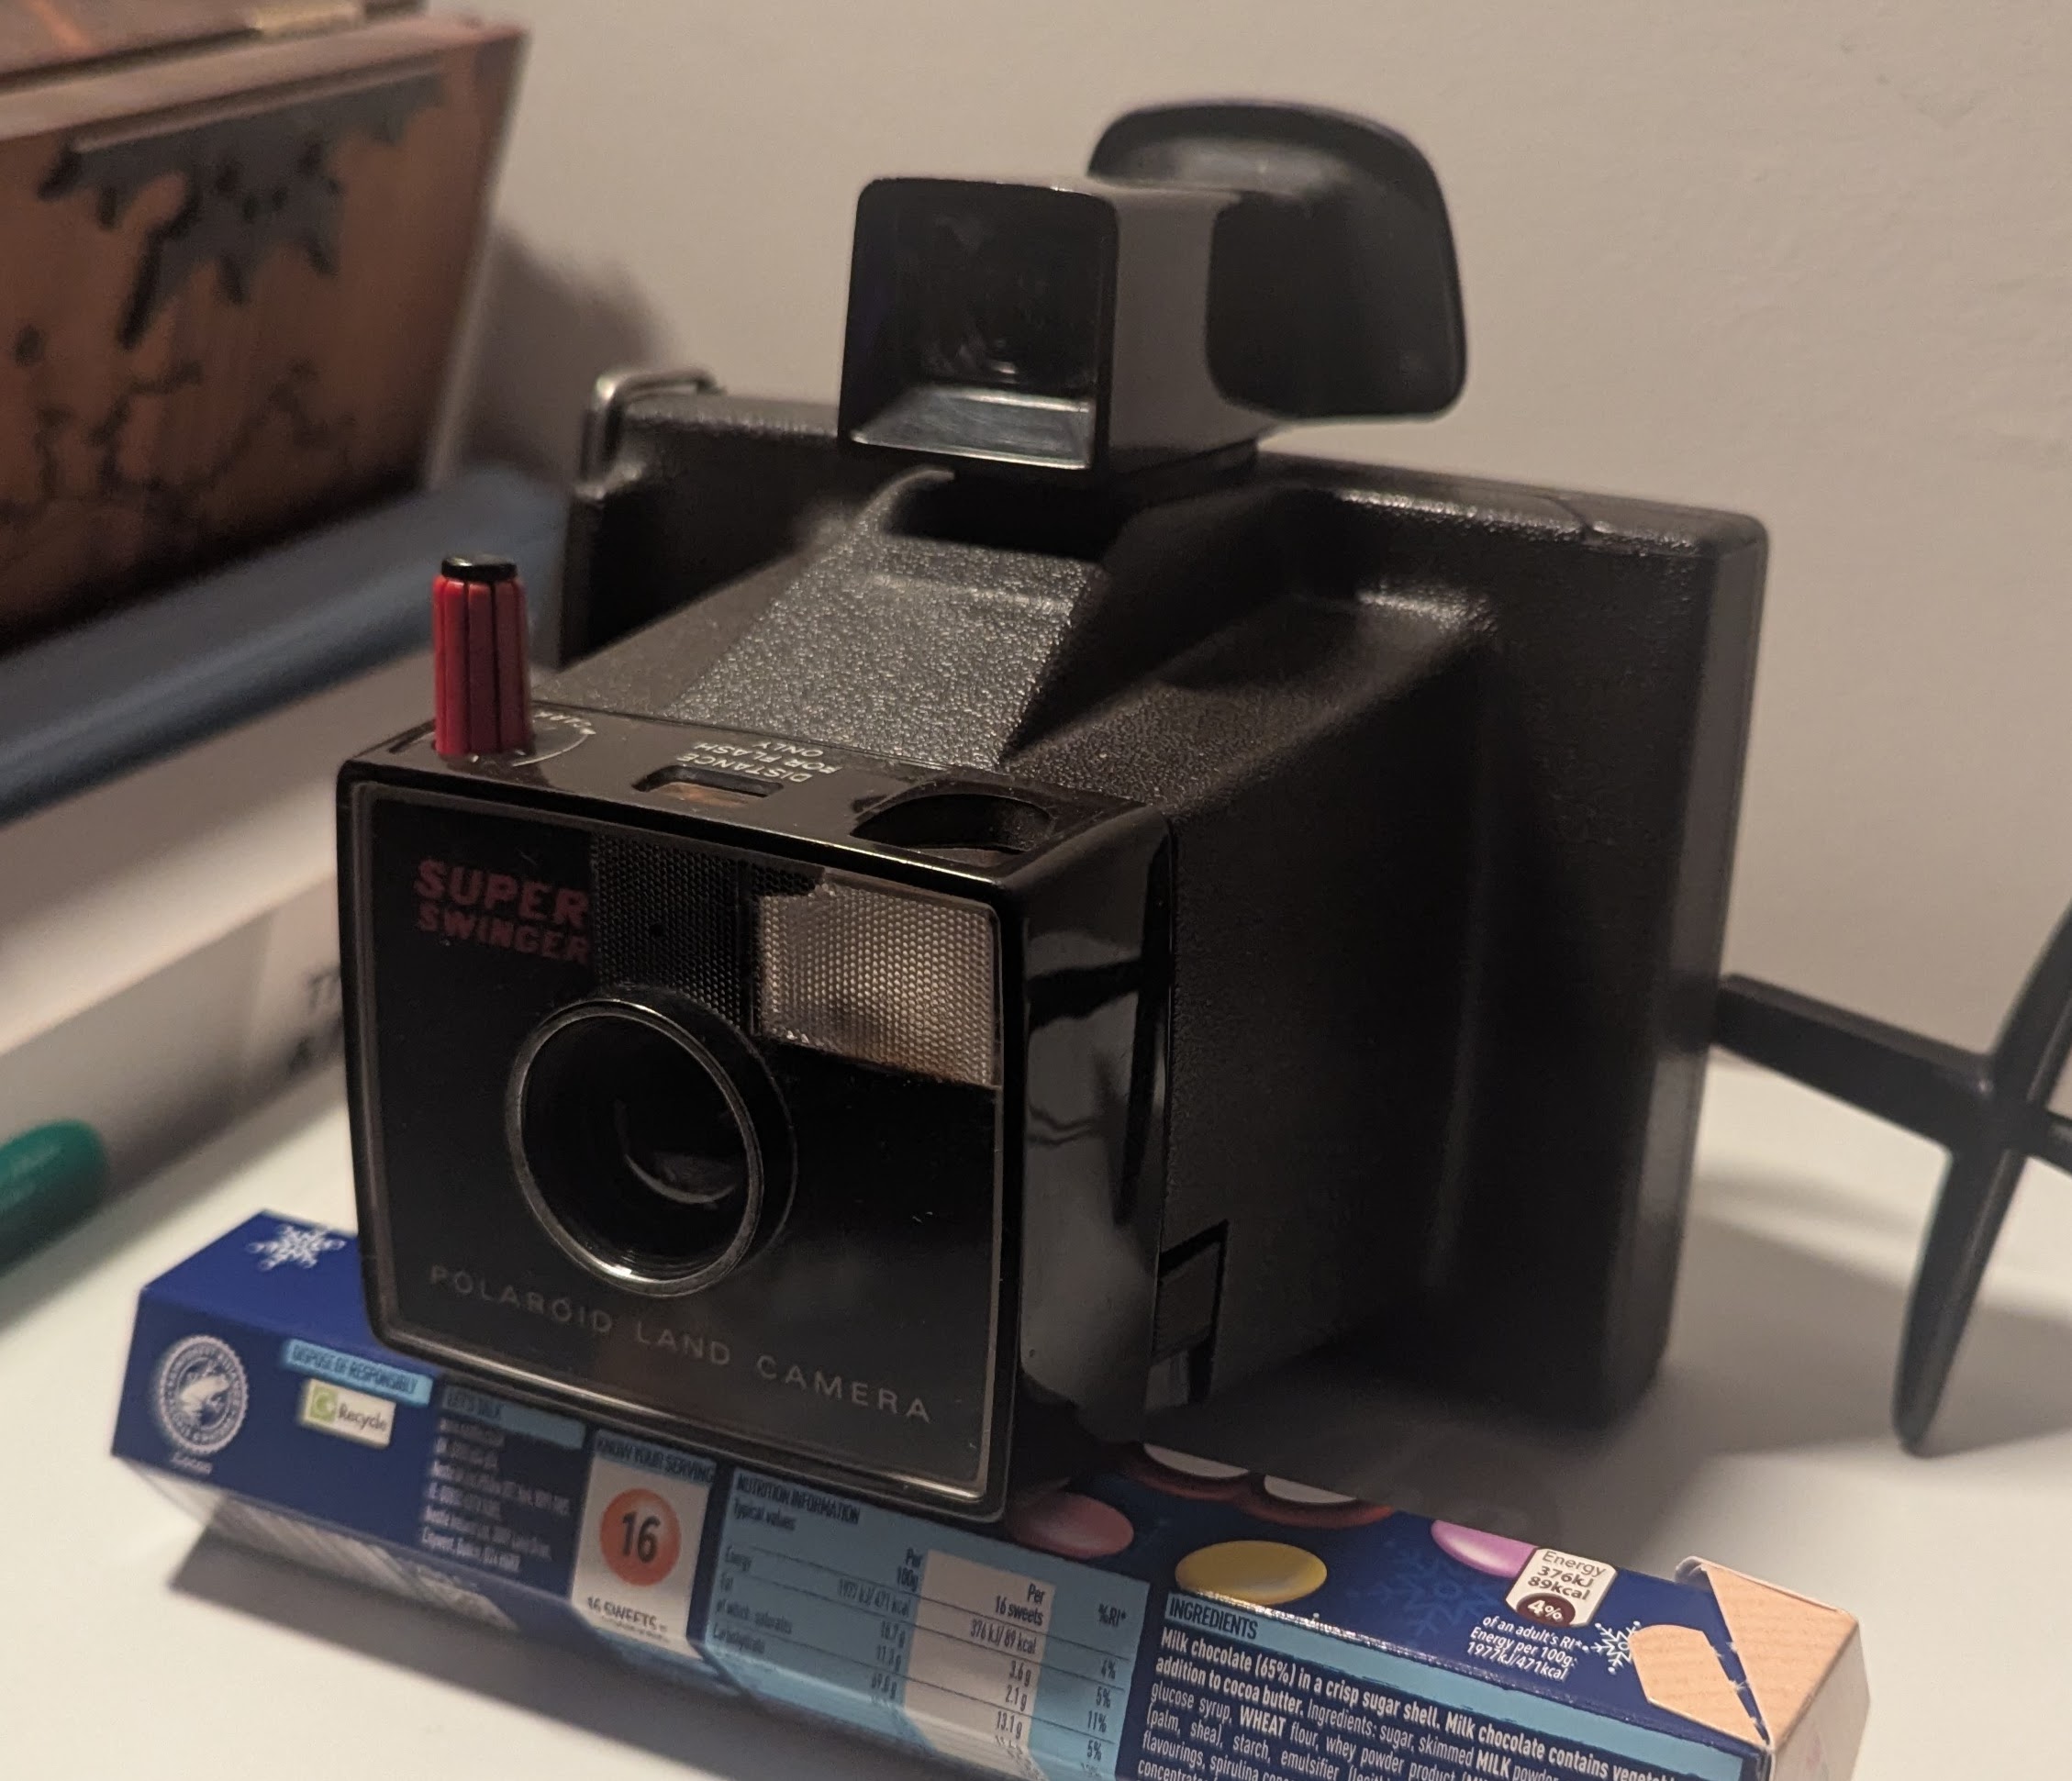
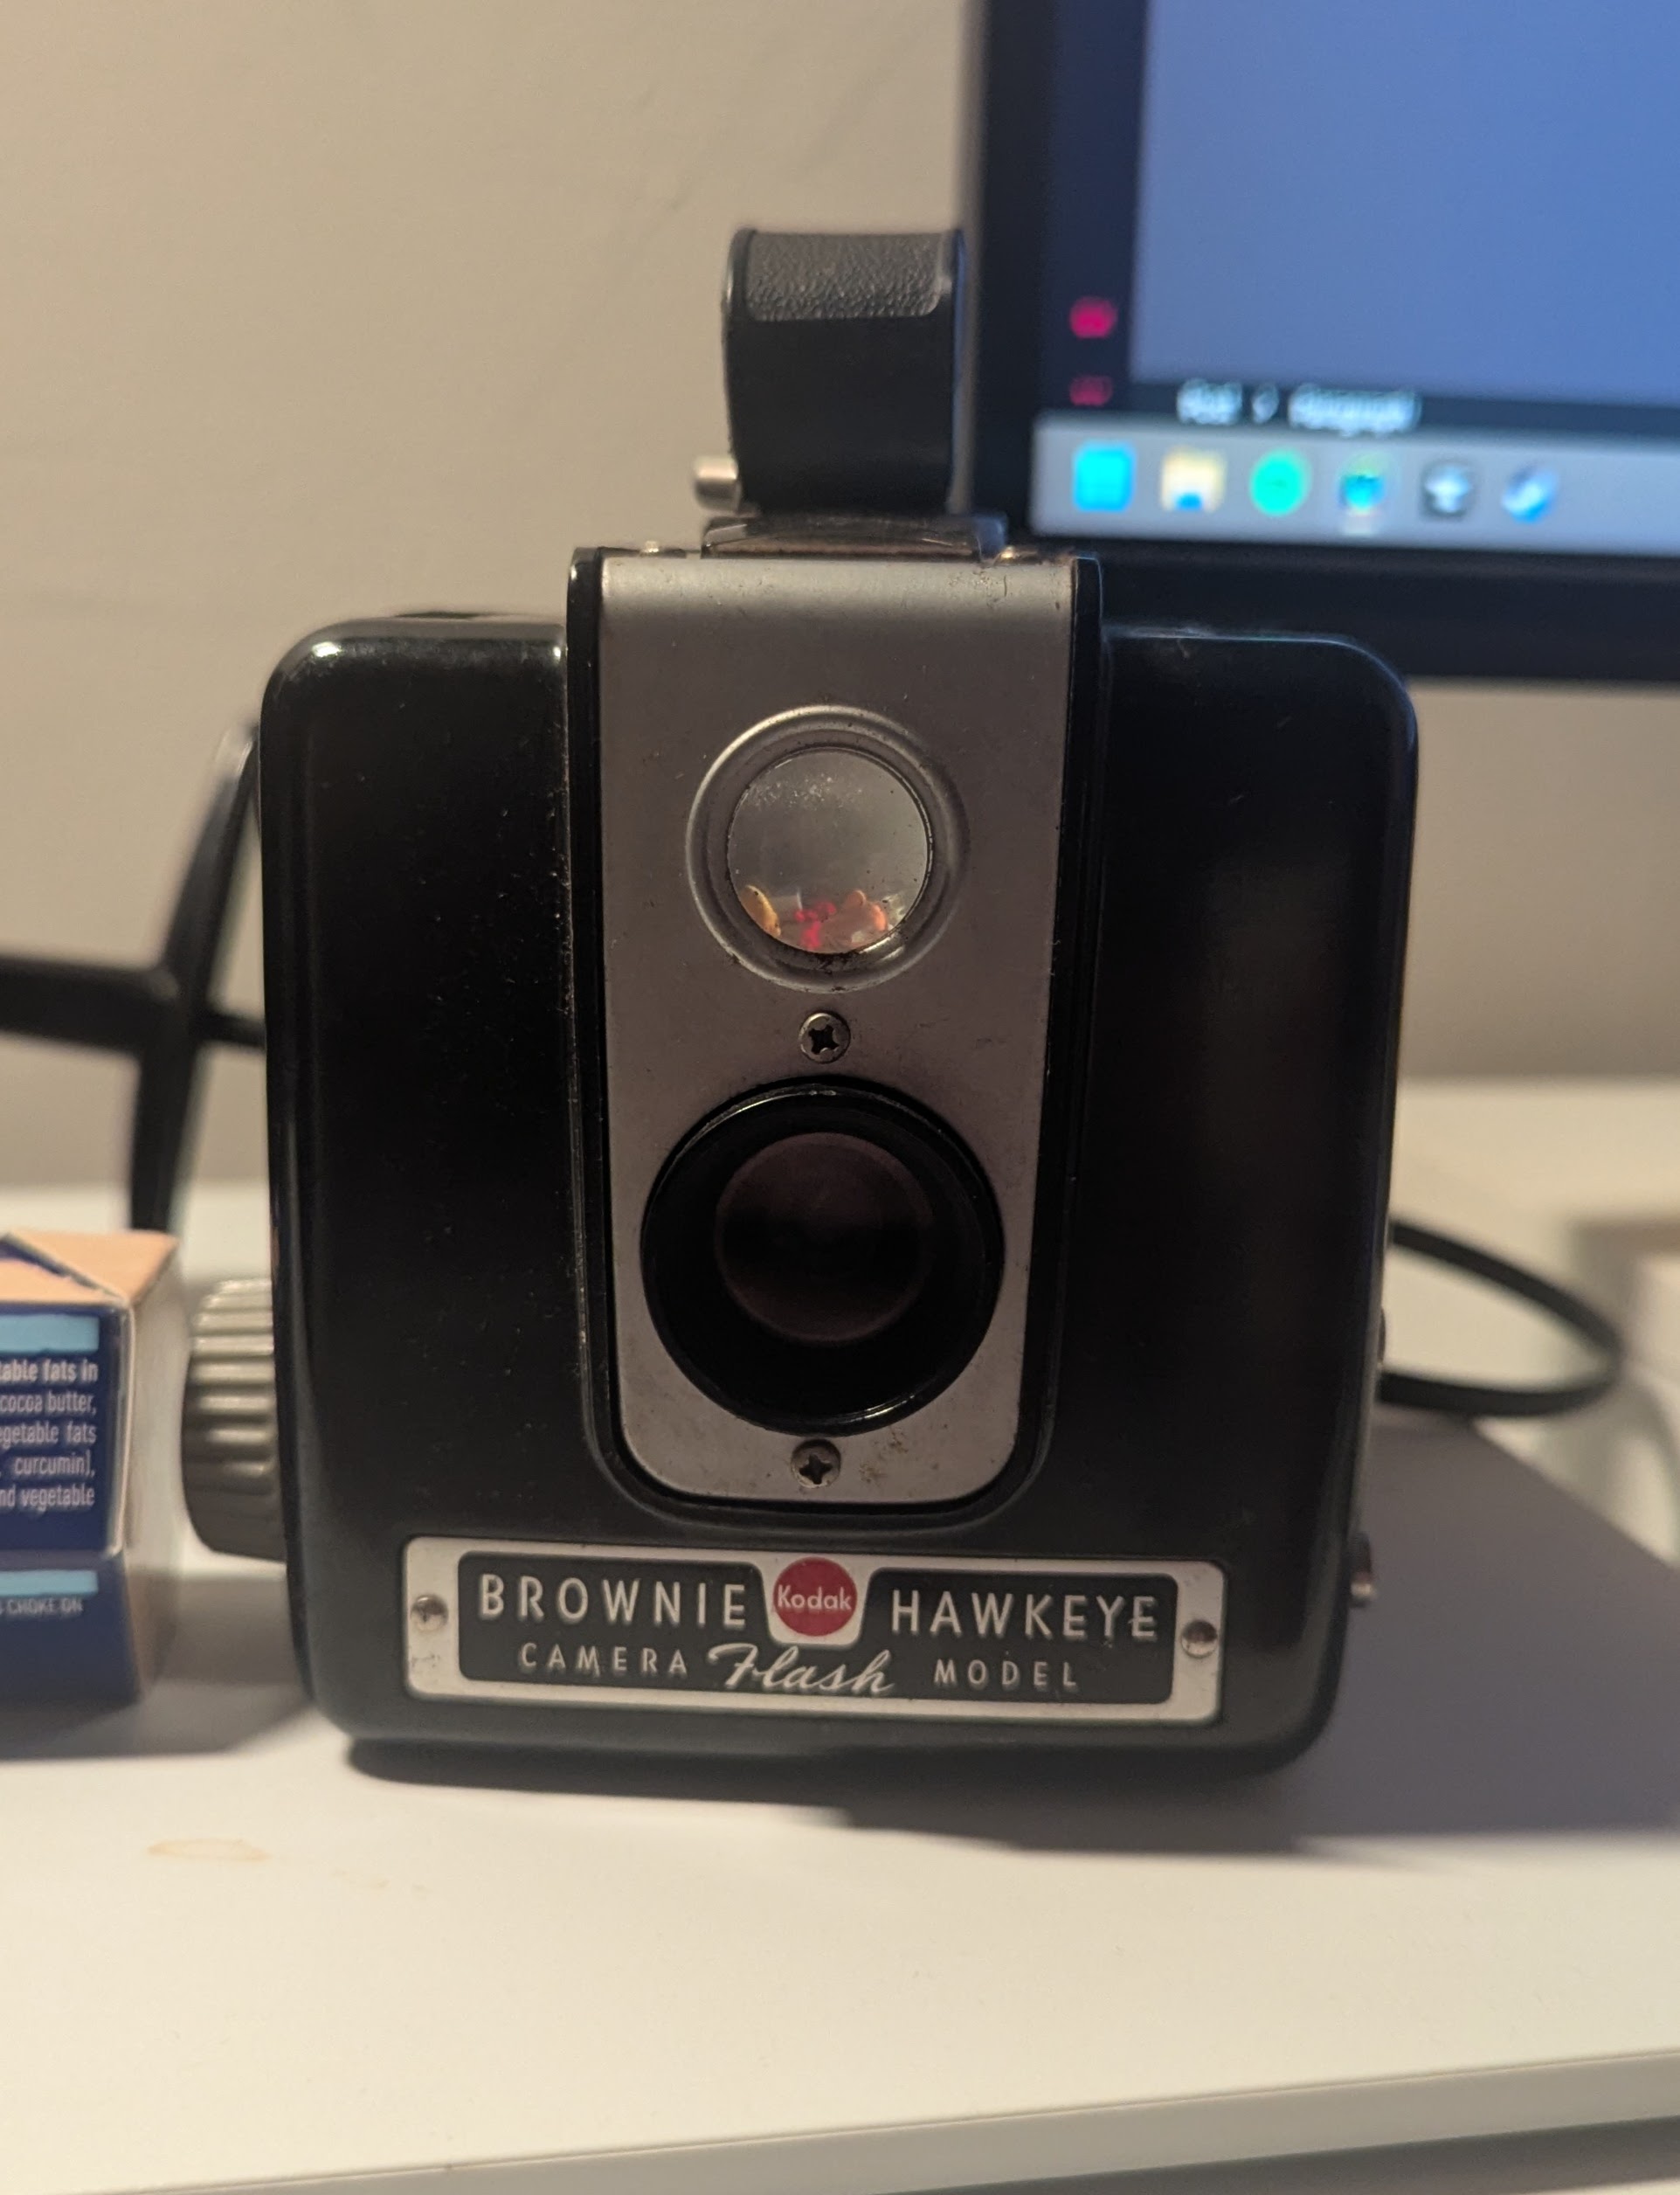
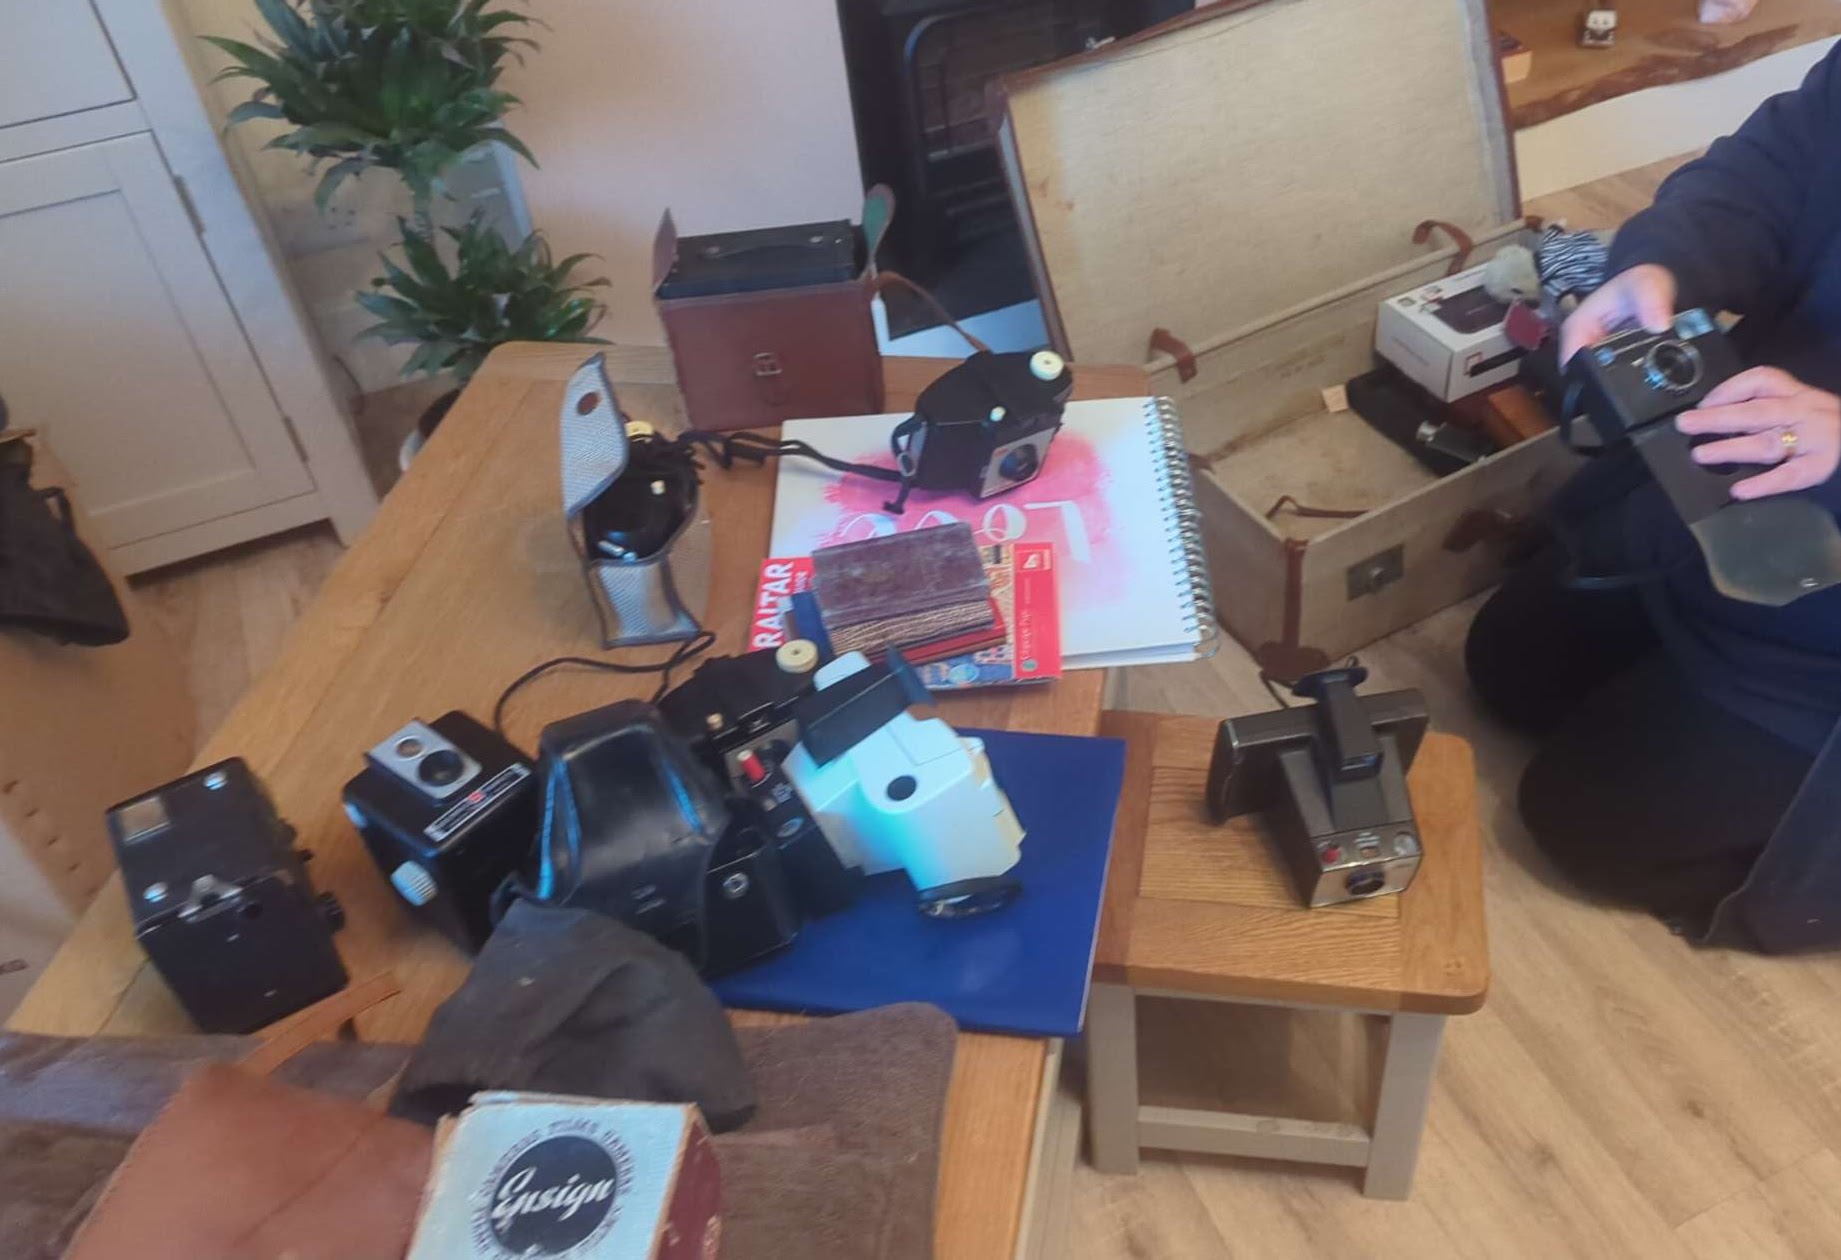
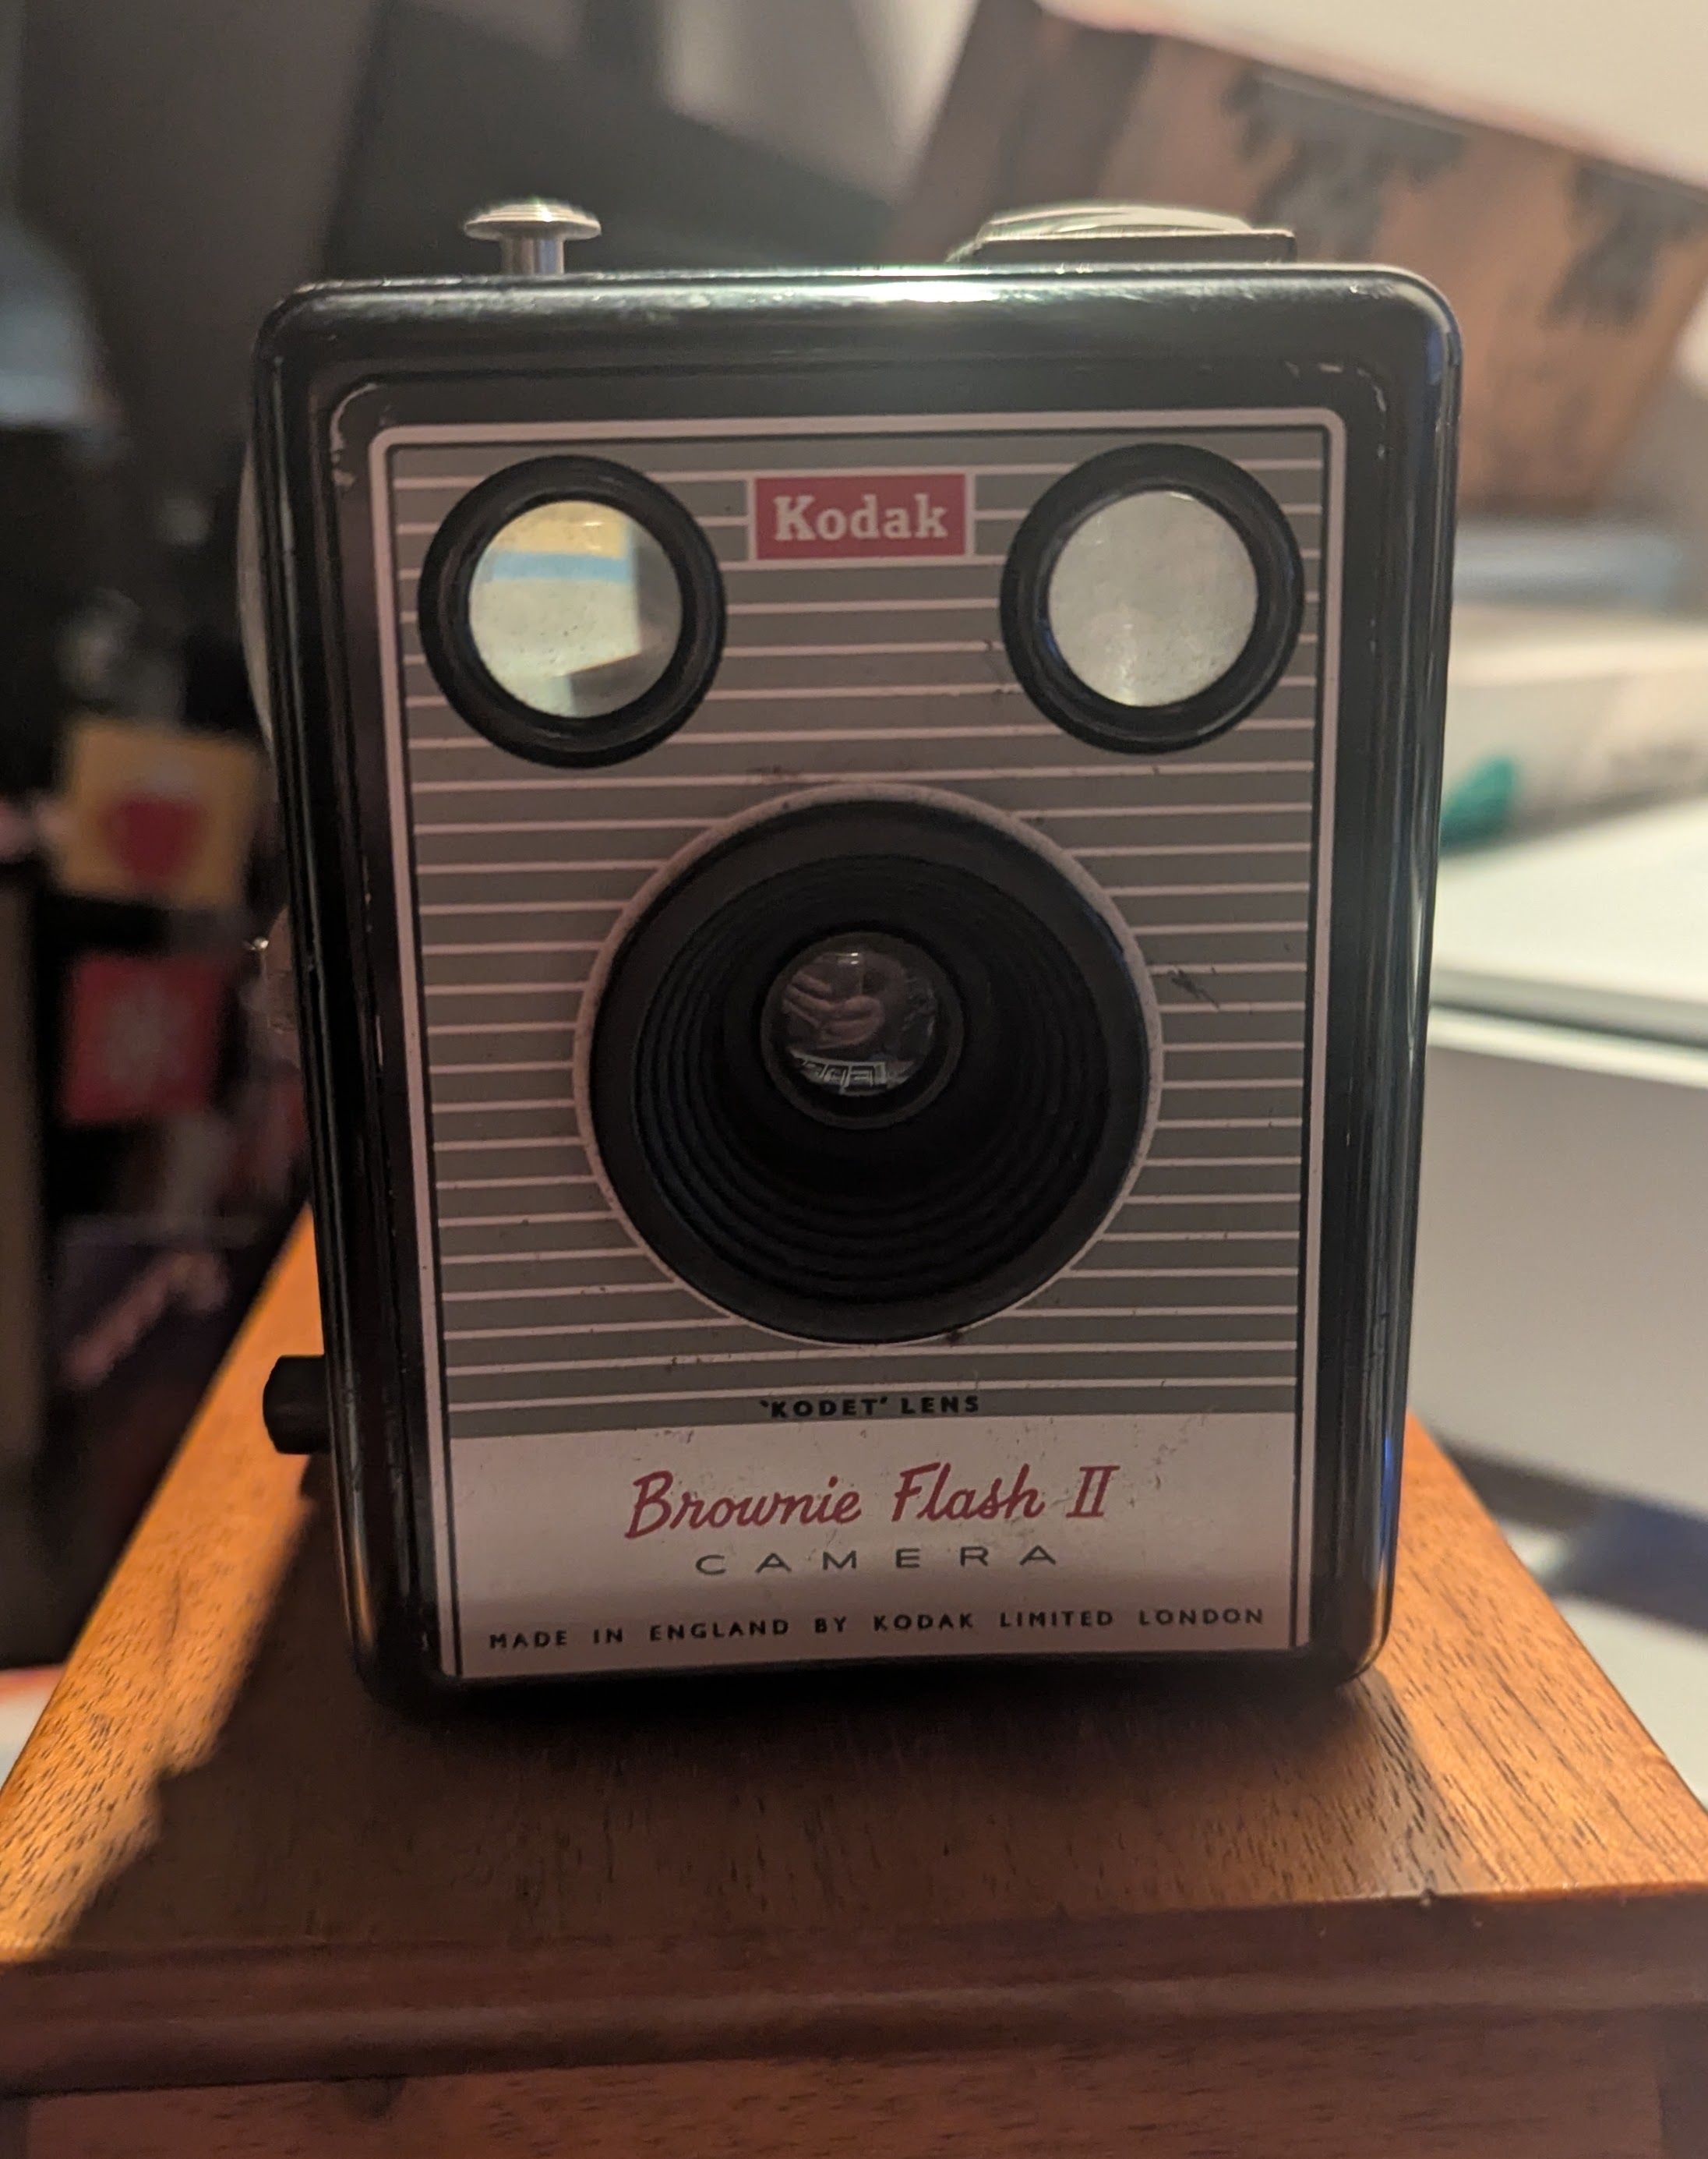
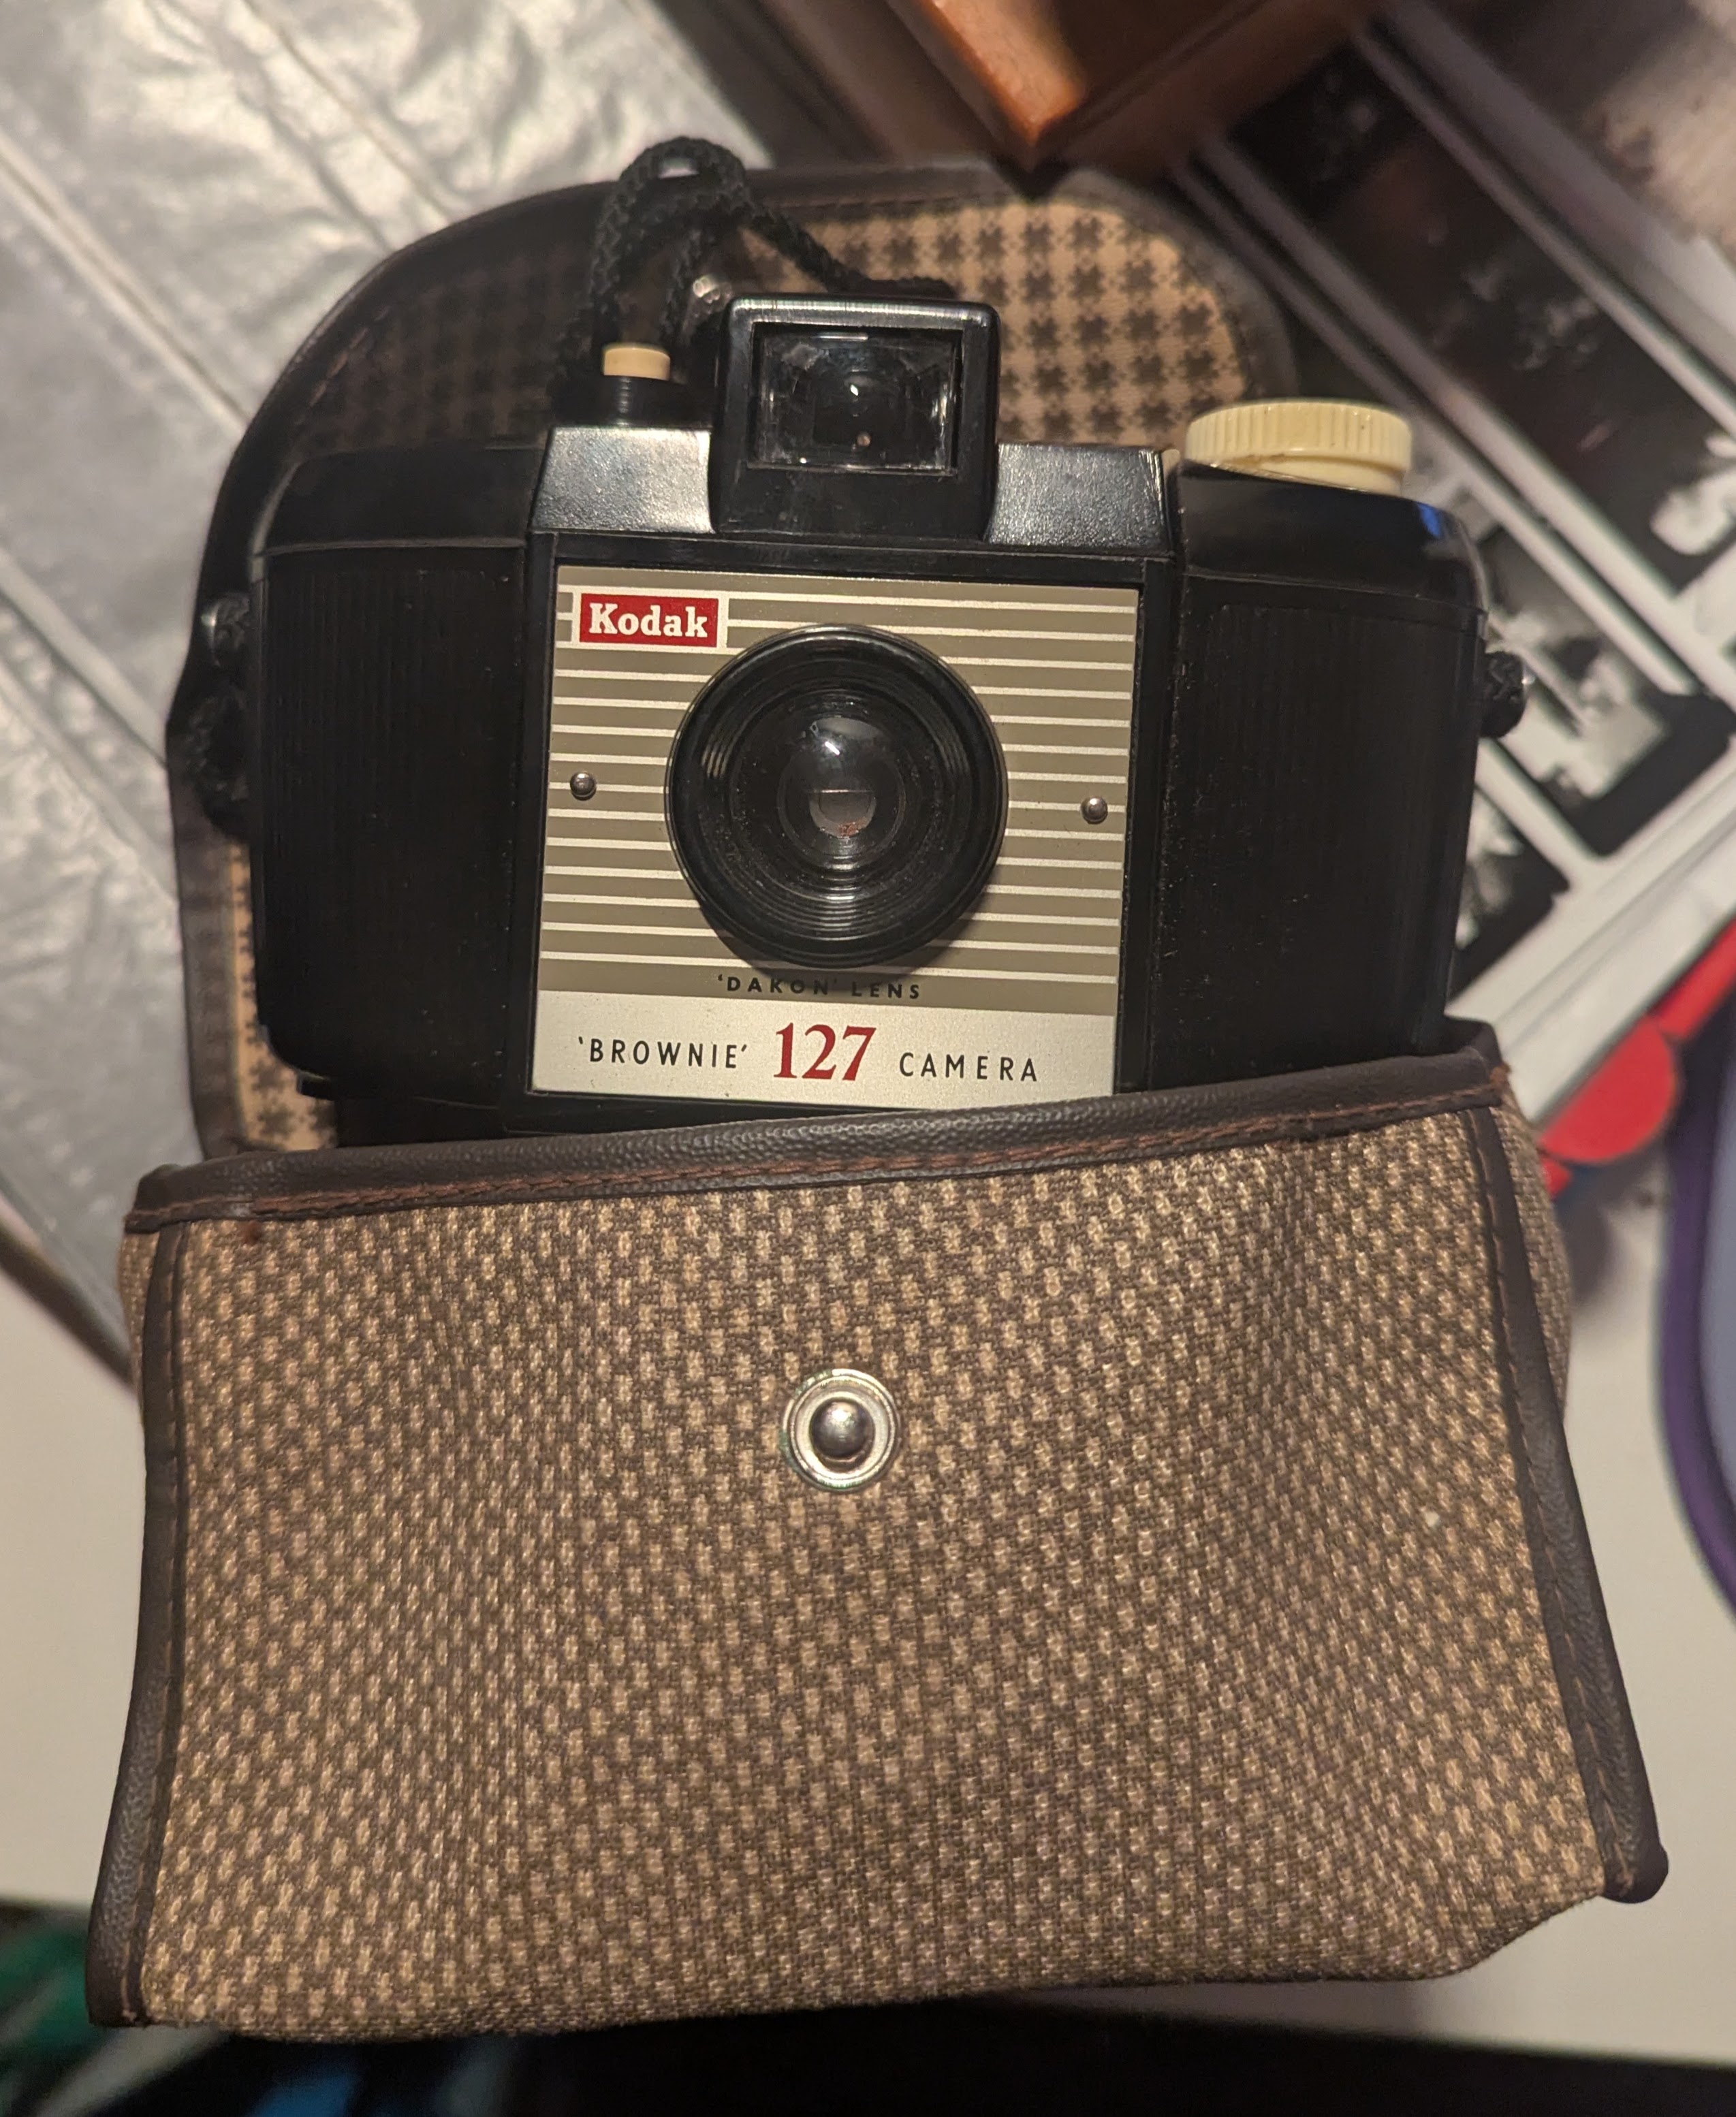
Pops collected cameras, some dating back to the World War. With them moving to Spain soon, they’ve been handed down to me and left in my care. In this collection were Polaroids dating back to the late 1940’s, Brownie Boxes as well as lots of others I knew nothing about. I’m hoping to get these working again and try and take with them later on in my degree/career.
Update – As I’ve just checked, Pops kept the alot of the older cameras, circa 1940 as those were his dads.
Car loaded with SLR cameras and one very sexy lamb dinner later, I’m ready to head back to Preston. Reminded of why I have this connection with Film Photography and feeling revitalized and reinspired.
Time to get this film developed.
Monday 8th December
I was on my own now.
Today’s goal was to develop both rolls of film and walk away with contact sheets. Given my previous luck, I was praying to anyone that would listen for a good run…
Well somebody was listening!
The developing side of the film went wonderfully. I followed the instructions on the wall to the letter and two hours later, we’ve got two fully developed rolls of film!
I audibly squealed with joy when I saw these!

Cutting them down and having a closer look, there are a few shots from the studio roll that have fully blacked out but we knew about them.
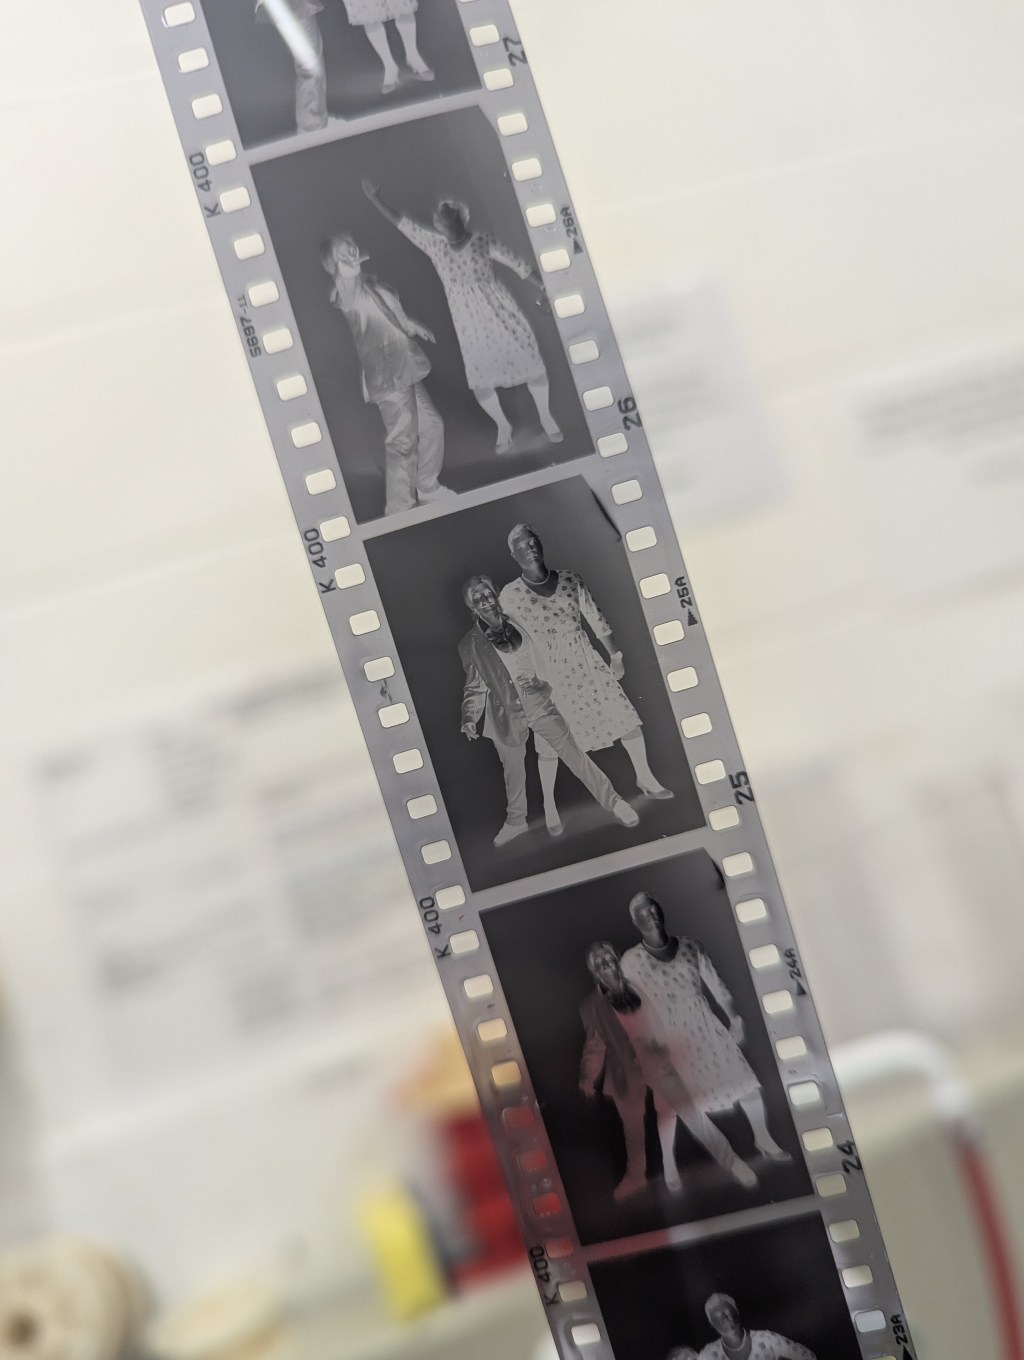
Heading into the darkroom, I get these bad babies on the Negative holder-thing and start making the contact sheets. They each took a few test strips to find the right exposure/times but ultimately, I was able to give myself a good starting point for developing the images into their large prints.
Wrapping up this arc, here are the final contact sheets.
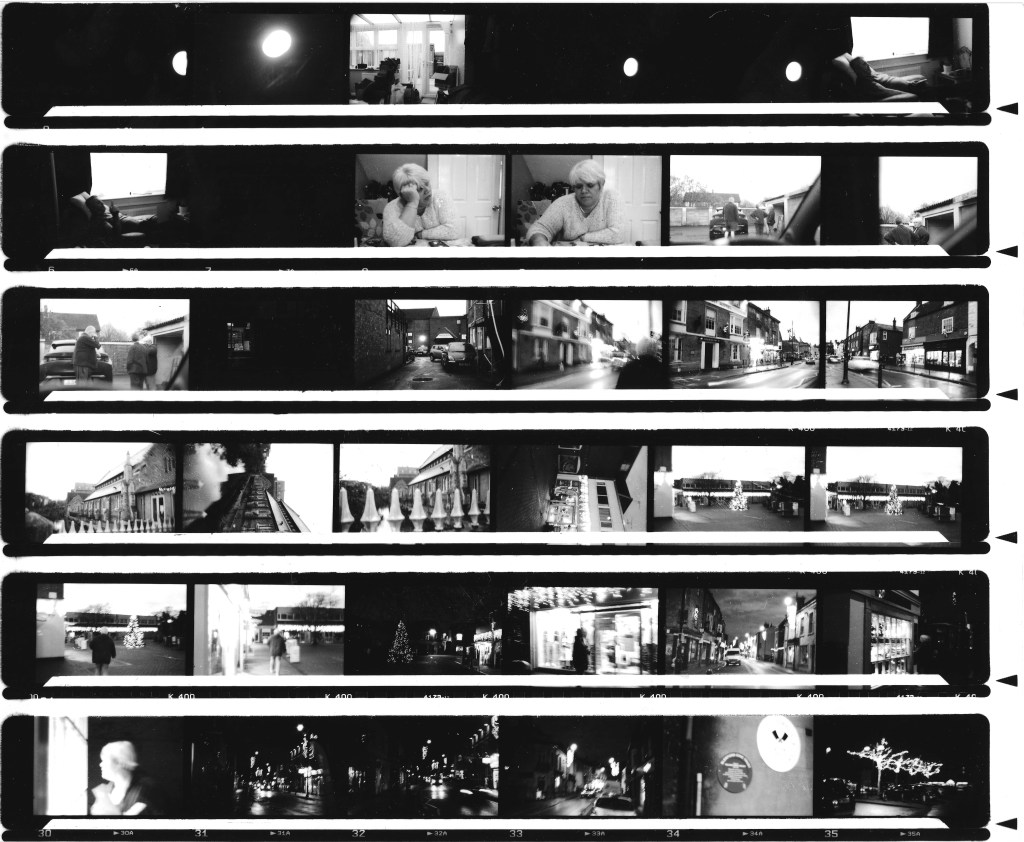
Contact Sheet – First Attempt
F11, G2, 105s
With this being my first ever attempt, I wasn’t holding my breath for any of these images. It was a roll of me figuring out how it all works and trialing the process. No matter how I tried, I could not get the numbers right for exposure. This was the closest I could get to all images being visible.
Reminder – This is the roll where I’d exposed the film to the bright lights of Café Nero and lost around 10 images. The first line is mainly that…
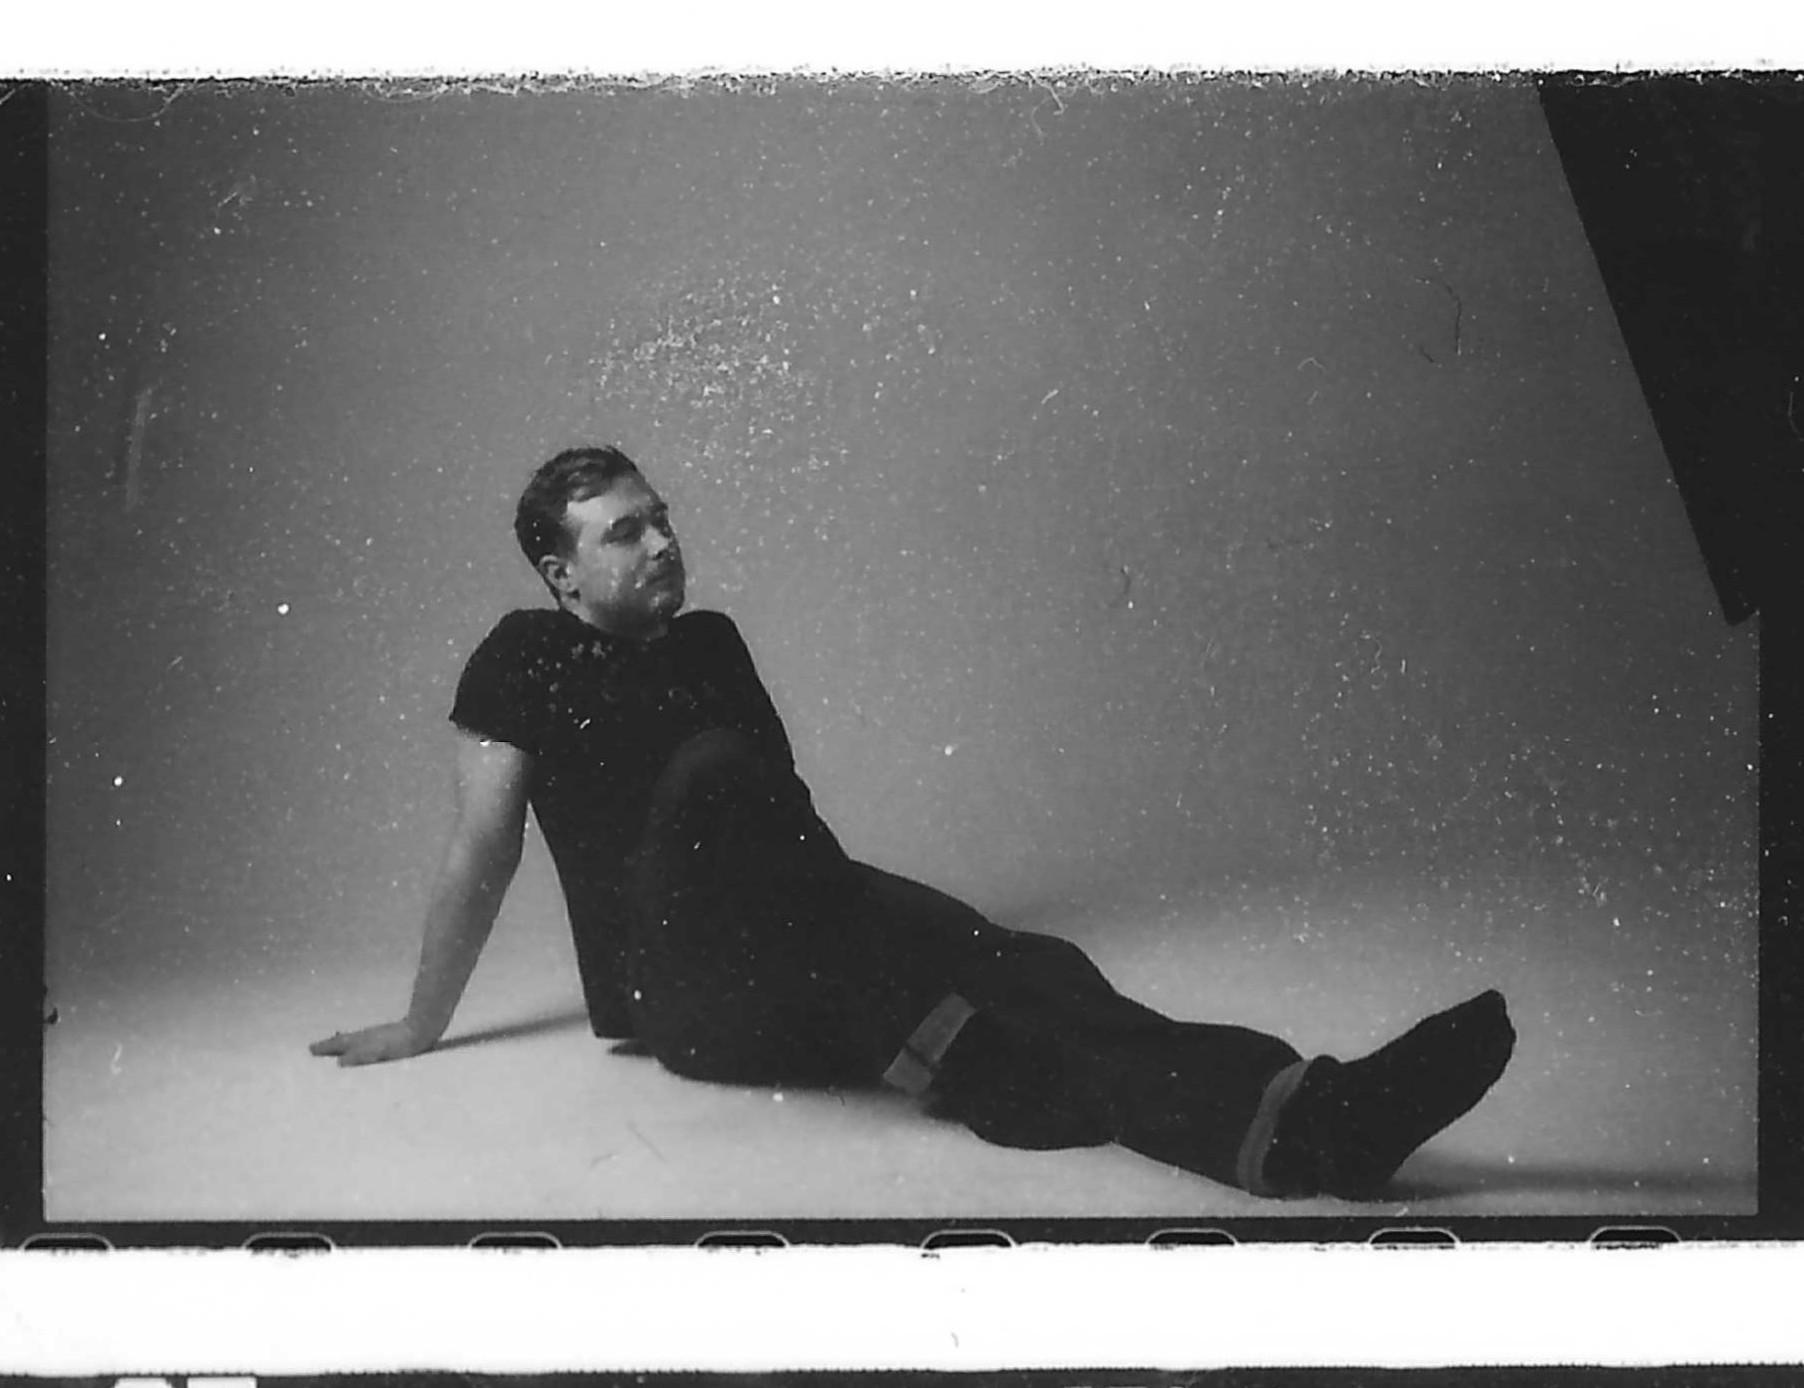
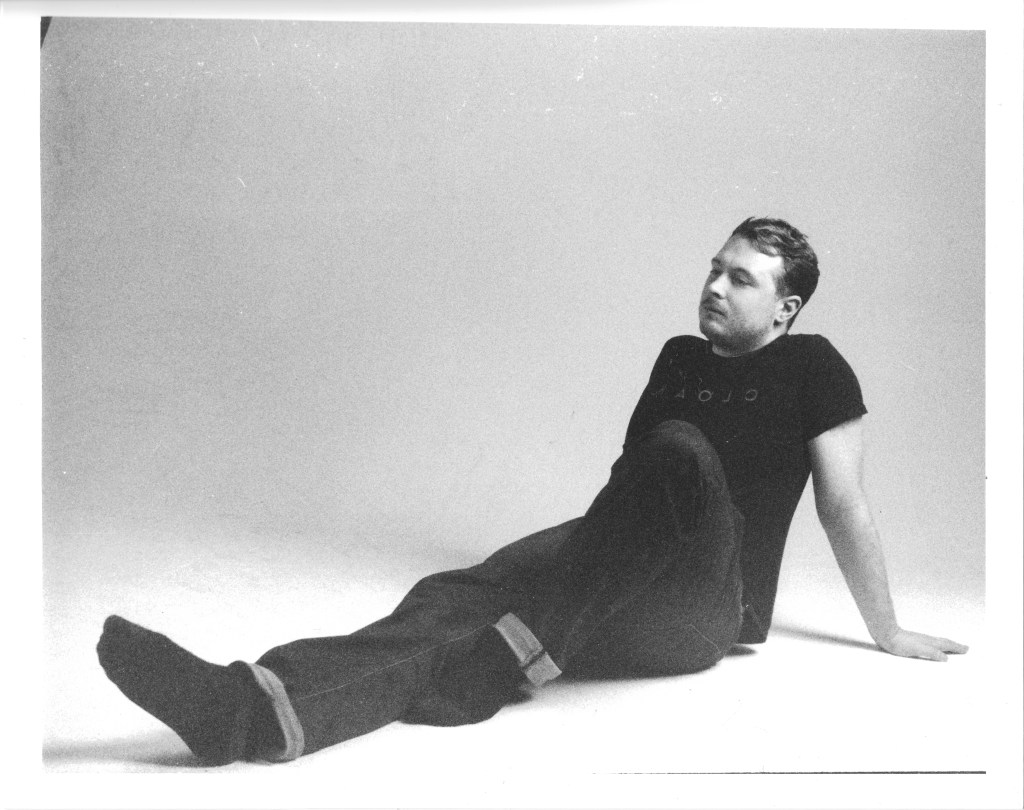
Contact Sheet – Studio Shoot
F11, Grade 2, 20s
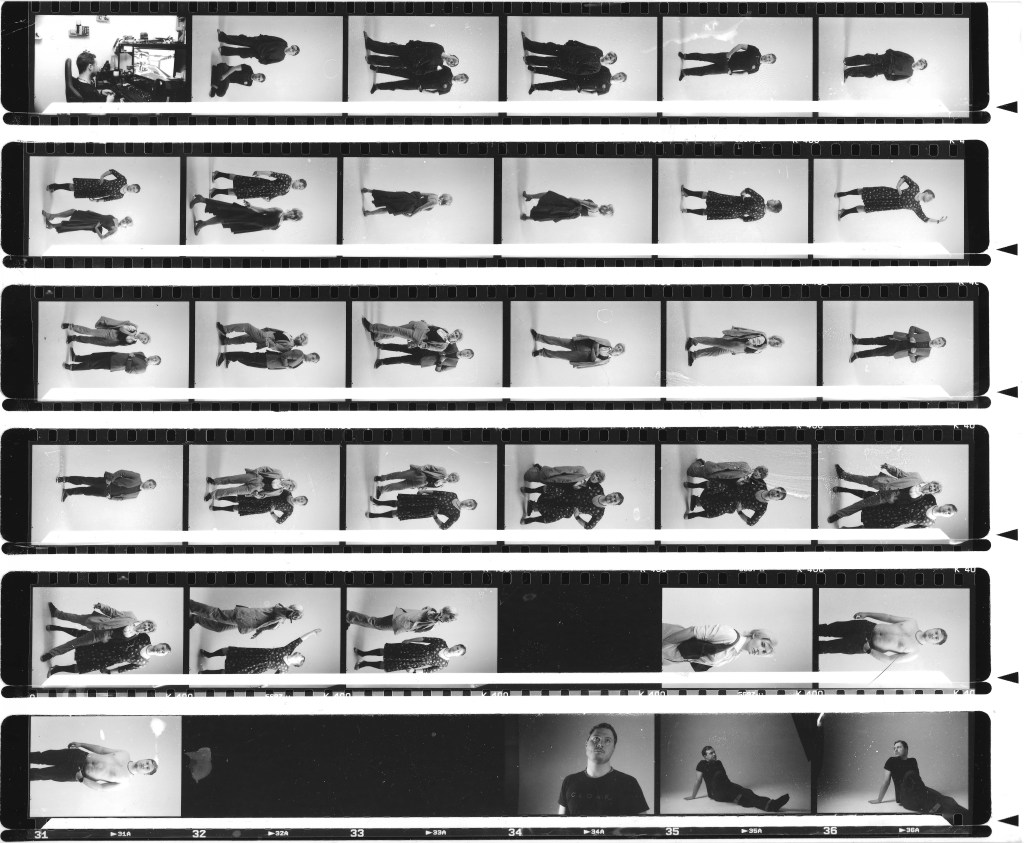
I loved this shoot. By god was it stressful but the images came out fantastic! The negatives needed a good clean after this however, there were so many I wanted to work with.
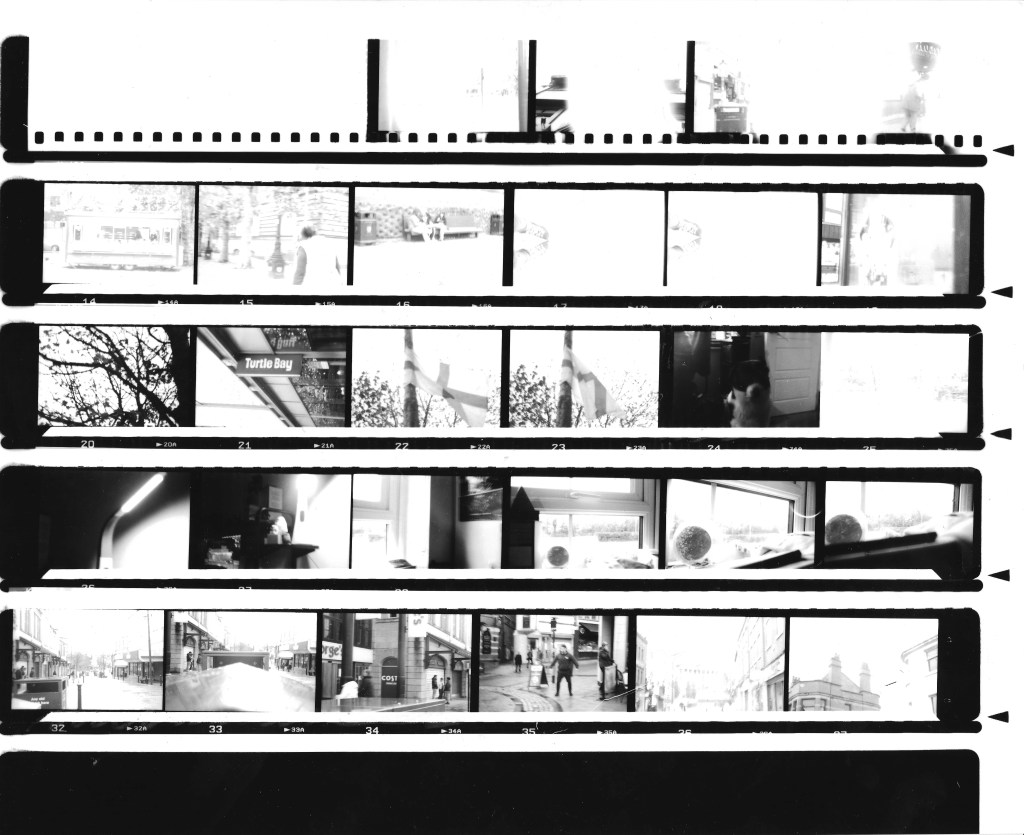
Contact Sheet – Sleaford
F11, Grade 2, 55s
This roll had the same issue as the first, I was still struggling with the shutter speed and, as mentioned, it was cold so I was shivering. There were three images I wanted to focus on from this roll:

–slideshow (3)–
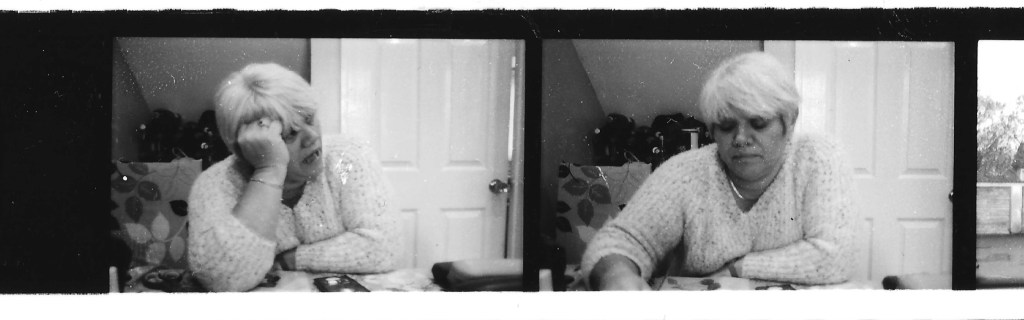
Looking at the images this closely and enlarged, I noticed that the image of Pops is blurry. I wanted to try and see if I can save it but I wasn’t hopeful. The one of mum will need some burning/dodging and the one of the Riverside in Sleaford will need some exposure experimenting.
Here comes trouble…
The day was going smoothly.
Too Smoothly
Something had to go.
Thankfully, it wasn’t the shots. Unfortunately, it was my patience. Following the contact sheets, I started trying to figure out how to make a large print. I’d never done this before (I’d missed that weeks workshop) so I was running blind. I ended that session with a few large prints and a lot of test strips. I just kept making the same stupid mistake.
I kept forgetting to turn the aperture back after focusing the image. That’s what happened to those two prints of Pops in the armchair. The one of mum had some imperfections in the paper that caused some markings (hidden by the reflection) to come through to the image.
At this point, I’d been at this for about 6 hours and knew my patience was running low. I tidied up, put everything out to dry and walked away for a few days. We were back on Thursday with Jo so elected to wait until then to get the extra support I clearly needed.
Thursday 11th December
A shorter session today. A disaster at home required my attention so was only able to get test strips and a few larger prints done. Given the short time, I prioritised the studio shoot images as they would require the least amount of test runs before getting it right.
Oh, how wrong I was…
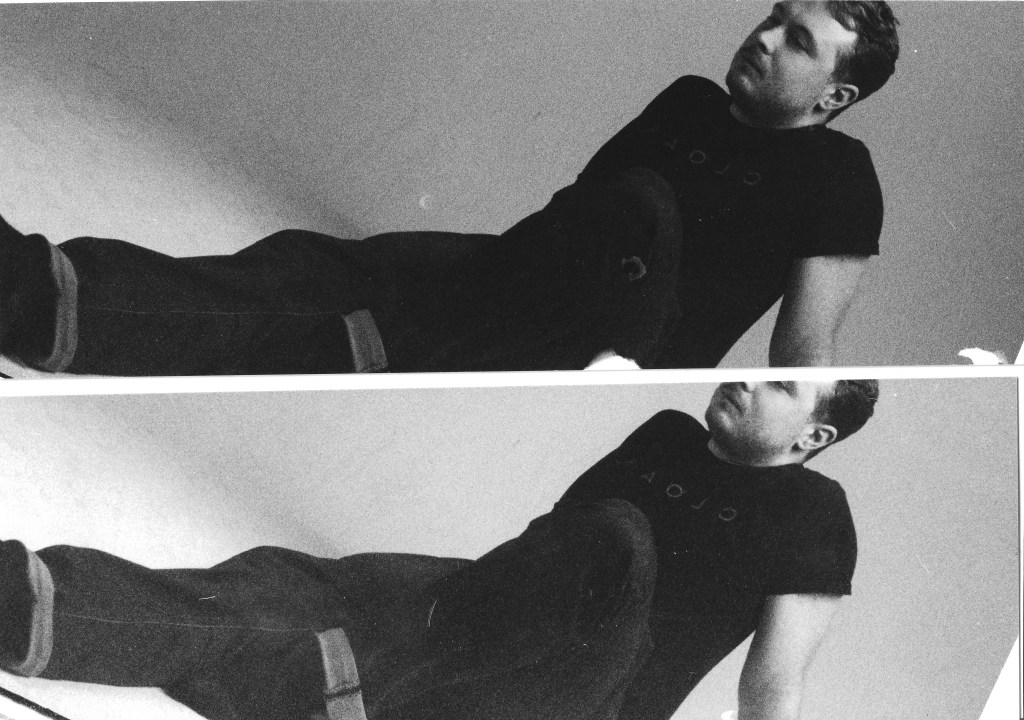
Firstly, I wanted to check something. In one of the images of Ed, I can’t tell if he’s smiling or making a stupid face. I loaded everything up and…
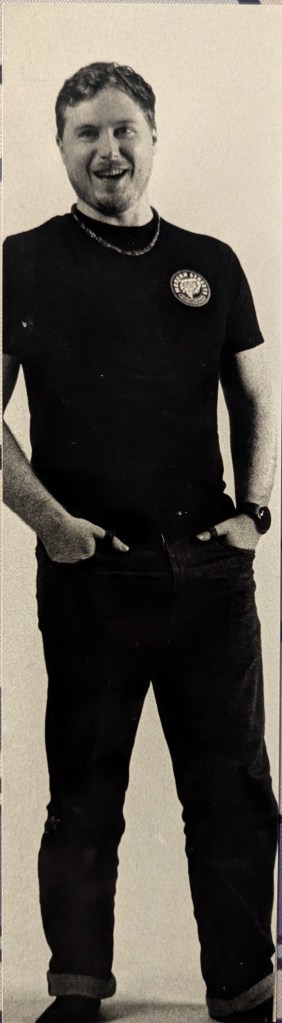
Yep. Stupid face.
Also, the clothing is coming through a lot darker than I expected. I knew him wearing dark colours was a bad idea but unfortunately, being a modern man, 95% of his wardrobe is black.
Shelving this one, I ended up going back through the contact sheet and picking a different image to work with.
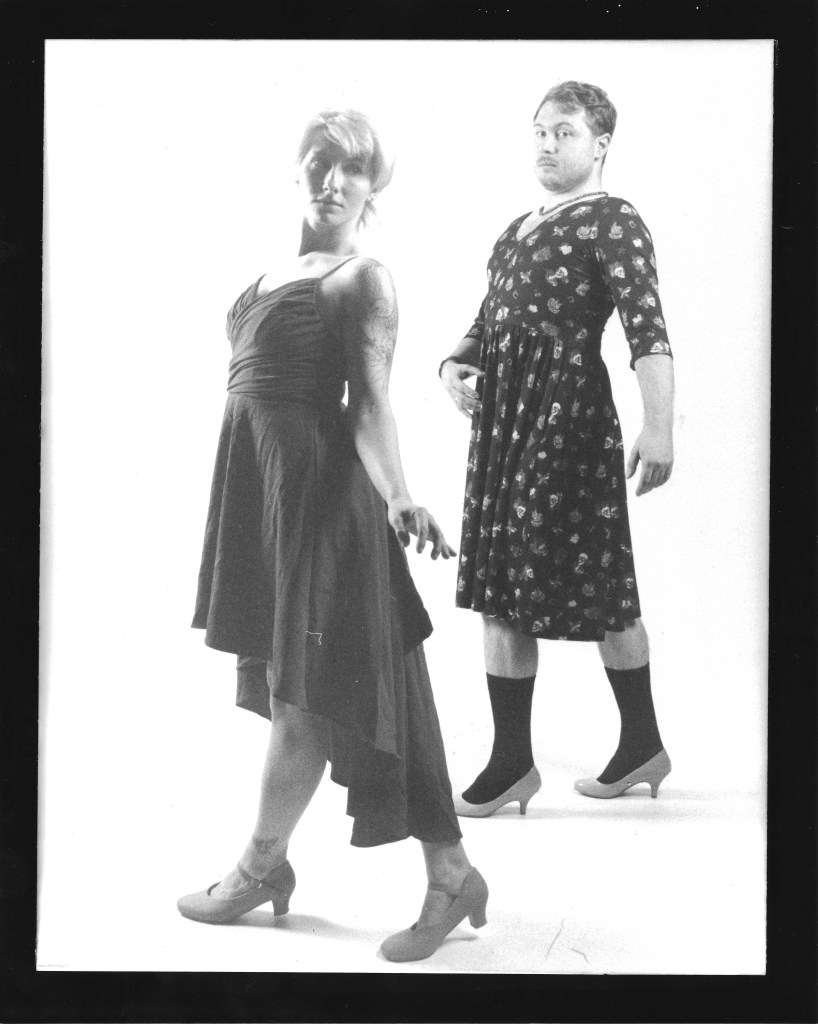
It was calling to me, Ed’s attempt at the famous “RuPaul Pose”.
This is the one.
Test strips away, I decide to do another exposure check on this one image alone. This solidifies to me to the main issue I was going to face over these next few images.
The Clothes.
See, the dress Ed was wearing was a black dress with red icons across it. If we use a longer exposure (25+s) we lose the definition in the dress.
Using 20s exposure, whereas giving the dress definition, removed said definition from the skin. I contemplated dodging/burning the image but the detail that it would need was way past my current skill level.
On a bit of a “Screw it, we ball” moment, I decided to run the same image at 15 seconds to see how that would go. It actually seemed to come out better than the two previous ones. It seemed that at 15 seconds, it gave so much more detail but did whiten out the image.
Speaking with Jo, she recommended changing the grade of the filter and seeing what that would do. I added that to my list of things to try and shelved the Studio Shoots for now.
End of session & I leave the items to dry. We’d got very little time left before the darkroom closed for Christmas so it was time to get a wiggle on.
Monday 15th December – The Big Test.
My goal? Get the settings for the studio shoot down, experiment with the grading and get one finished print that would be suitable for submission.
Yes, I had completely forgotten to go back to the original image of Ed. Writing this up on Monday (15th) night, I’ll attempt to go back to it on Tuesday.
I will apologise now for the terrible framing on the scans. The final images will be much better, I promise 🙂
Ed (& Lottie)
I get in, get set up and pick which images I wanted to focus on. I knew I wanted to prioritise the Studio shoot today so picked two:
I started with the image of both Ed & Lottie to give me the starting point for everything. In my head, this would be the image I develop and submit. A few test strips in and I realised one major detail. Lottie is considerably darker than Ed. I’d need to spend time with this print, dodging that area to bring her into the light. After getting the exposure settings as close as possible, I did a large print to start planning the next step for it.
As this one would require a lot more work, I shelved it for now and prioritised the image of Ed. I knew this one would need some fandangling but also wanted to experiment with the grades like Jo had mentioned.
I’ve come to start treating anything darkroom related like a science experiment, focusing on one variable at a time. Starting at exposure time and changing only one factor. My main focus point on the image of Ed was his knee. On certain settings, it blended in with his chest. On others, it was clear but the rest of the image looked horrible. I am never letting him wear all black to a shoot again.
And finally, after all the tests and experiments, I was ready to do my first large print! Let’s do this!
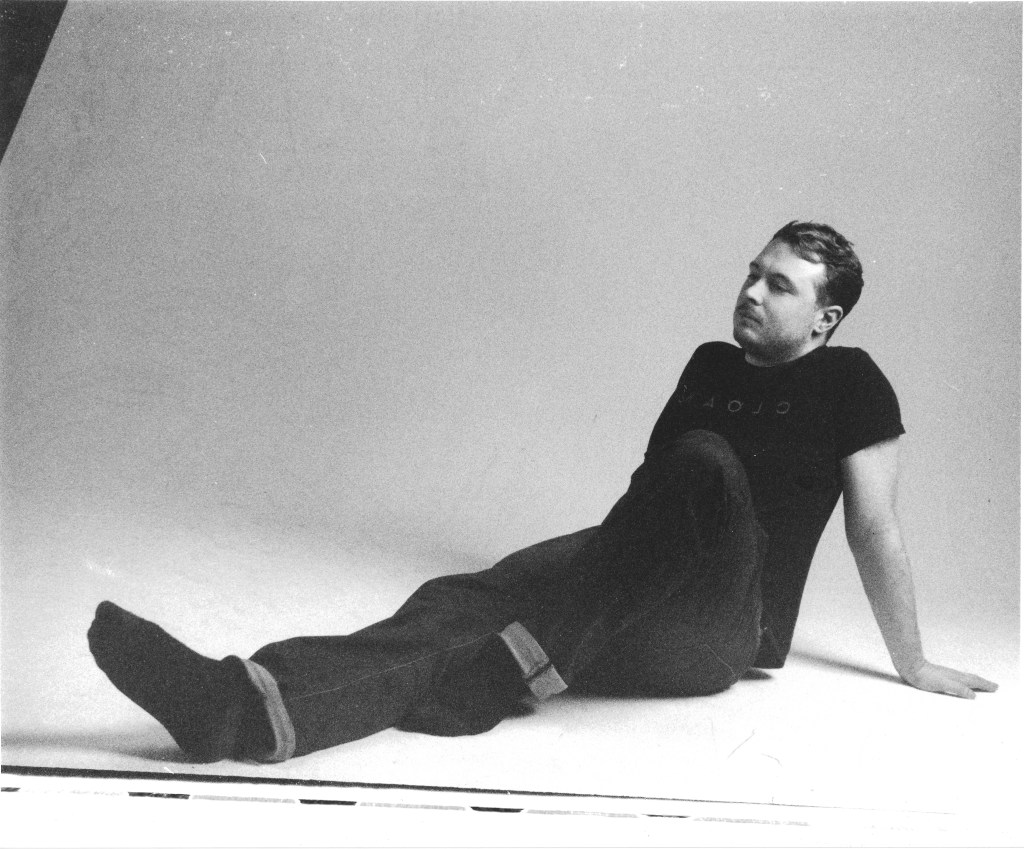
Whereas I may have gotten the filter, aperture and exposure right, I’d knocked the negative holder which ended up adding this ledge. Whereas I don’t hate it, I wanted to try and get it right. Attempt Two, Electric Boogaloo!
Yeah okay. That’s my favourite one so far.
I’m ready to call today a win!
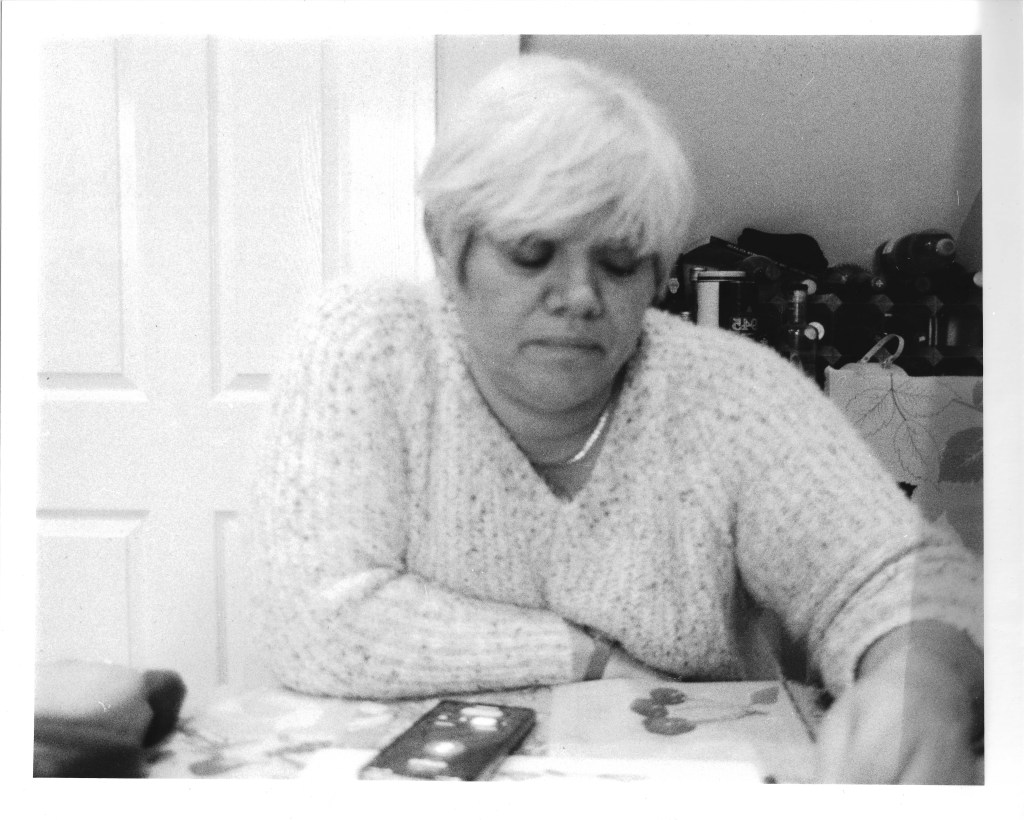
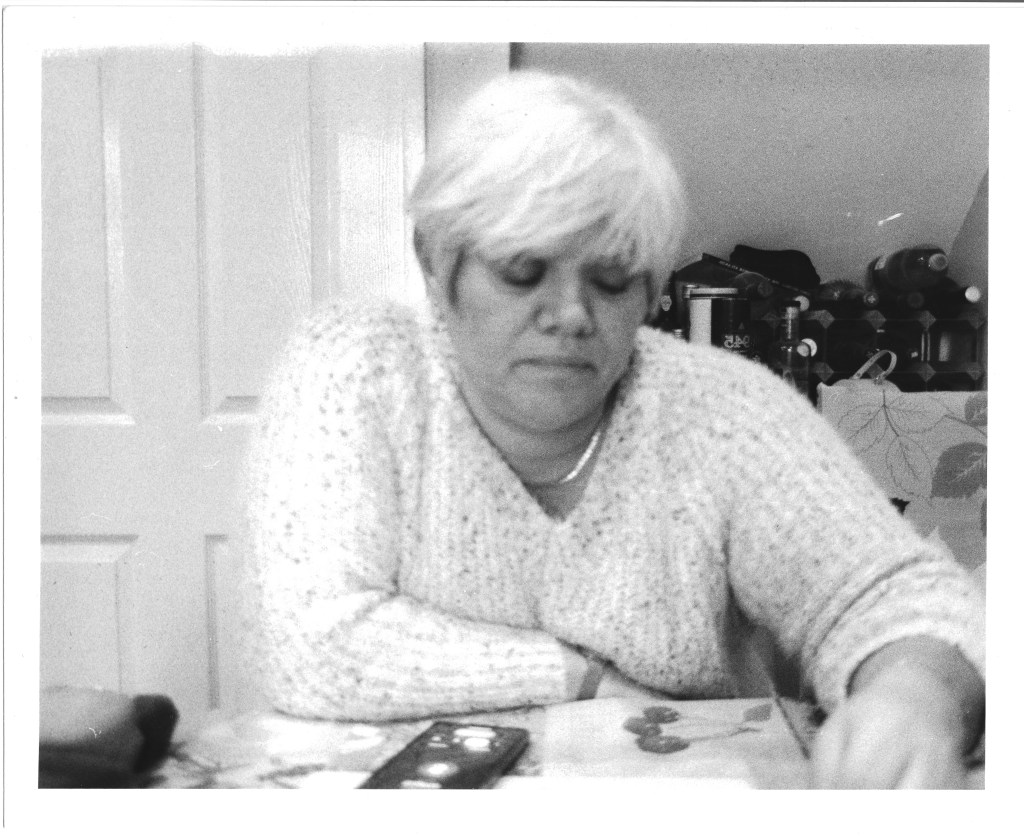
But there was one more thing I wanted to attempt. That picture of Mum again.
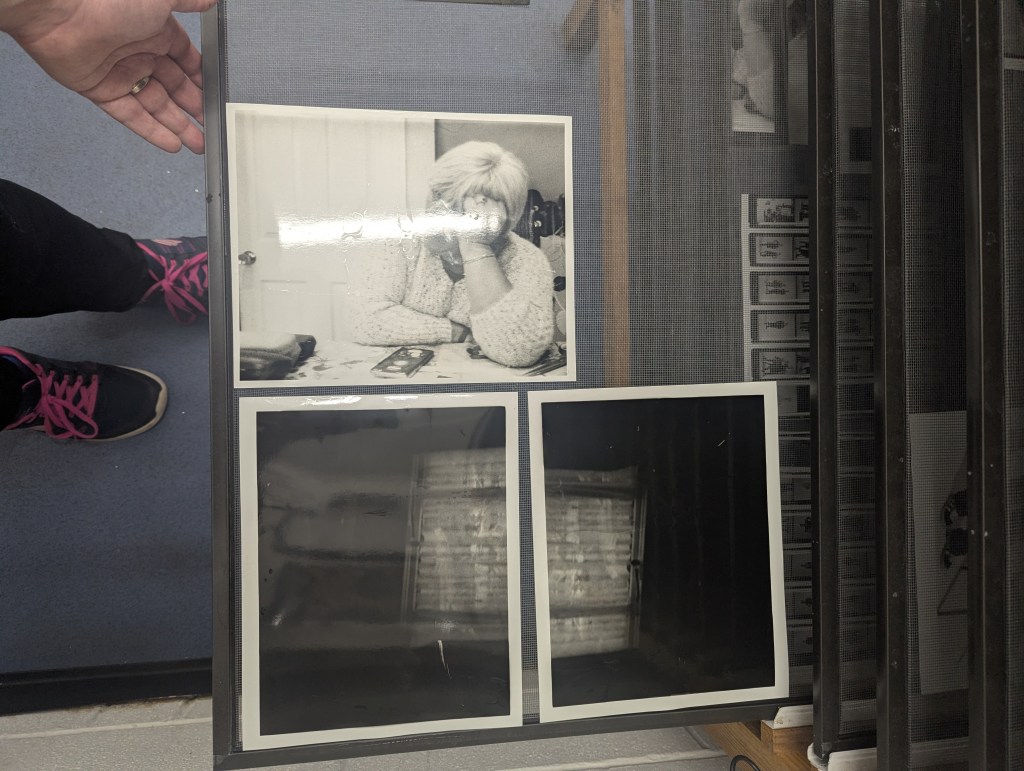
Mum
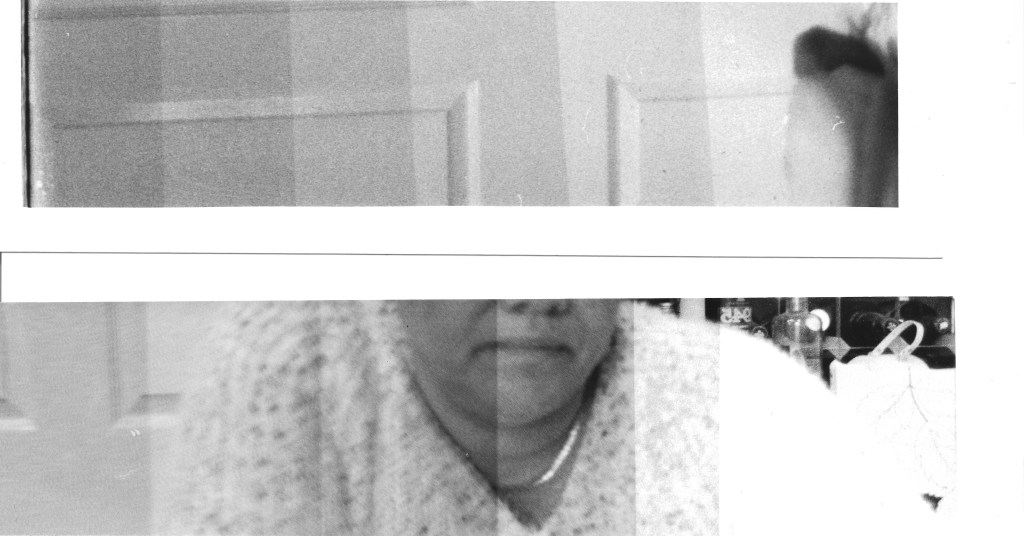
Where as last time, I used the photo of Mum talking on the phone, this time I thought I’d try the other one. I used all the same settings as the big print from the first attempt and created a few waves of test strips to get the “colouring” right.
Like last time, I started with what I knew and changed variables little and often. However, there was one major issue I kept facing. The Door. Behind Mum is the bleach white door into the living room which, given the rest of the image, is blinding. This needed to be fixed.
With everything I’d learned about grading from the image of Ed, I wanted to see if there was a way I could do this without burning an image. I was hesitant to try burning as I’d not yet done it and I was solo in the Darkroom.
From this point on, I started making stupid mistakes that kindly informed me it was time to go home. I’d not thought to check my aperture on multiple occasions and ended up wasting test strips. Whereas this did give me the idea to try using F8 instead of F11, I needed to call it a day here before I made more stupid mistakes and wasted resources.
Tuesday 16th December
Today’s Mission – Burn the picture of Mum. Dodge the image of Ed & Lottie
That’s it. That’s all I wanted to get done. I’d got one print I was in love with and just wanted to prove to myself that I could actually dodge and burn an image.
Mum
I jumped right in on this, knowing what grade I wanted and just needed to get the exposure times right. I started from the beginning, creating one strip for general exposure time and the other for the burning times.
(F5.8 // Grade 1 // 15s exposure with 5s intervals on top)
(F5.6 // Grade 1 // 5s intervals)
Both strips are being exposed at F5.6 instead of F11. At F11, I was hitting exposure times of 100s+ which, when you consider that I need to burn as well, means we’re talking 2 minutes of exposure time. It was originally an accident, exposing at F5.6 but it weirdly worked…
From this, it was clear. Mum needed 15s whereas the door needed an extra 10s on top. Time to get the motions down. I started running larger test strips covering both Mums torso and the door, trying to get the movements down to make sure everything came together nicely.
Using the projection from the enlarger, I created a cut-out of Mums torso and head to use as my burn too. This was a wonderful help!
Wrapping up a few large print attempts, it was coming along nicely.
Although it has a dark spot from the developer, I’m still happy with how these are coming out. I ran a few more large prints before I had one I was 100% happy with. You’ll see that later on!
Ed and Lottie
This was torture. Constant testing, changing variables and each time, something missing. I started off trying to find the individual exposure times for both Ed and Lottie. Ed’s was a perfect 15s whereas Lottie needed around 12s so ended up attempting some dodging tricks.
The issue with this was her edges became so soft, she ended up merging with the background. This is where I started experimenting with the grade filters. Ed came through wonderful at a Grade 1 whereas Lottie needed 1 1/2. A few hours later, I got the settings spot on:
15s (-2 for Lottie), F11 and split grading (E G1 // L 1 & 1/2)
I ran out of time for the large print so wrapped everything up and planned for one last trip to the darkroom.
We’re so close to the end now!
Getting home and starting to scan everything in, I could finally see the images clearly, dry and in detail. There was just one issue with the whole thing.
Mum was, ever so slightly, out of focus.
Wednesday 17th December
One last trip. One last print. That’s all that was to do. Get the split grading down on test and get the final print going.
That was until I got a text from one of my classmates that was already in the Darkroom
Whoever was last in didn’t seal the bag properly. The paper has fogged.
I’m sorry…what?! Does this mean the whole lot has gone? Thankfully no. After getting in and figuring it out, it seems only a corner had been left slightly open and fogged portions. Taking from the middle gave us the best chance at not having a completely ruined image.
I knew my settings, I knew what I needed to do and now it was just a case of making it. Attempt one!
Maybe the fogging is worse than we thought. Let’s try again.

Okay, this isn’t too bad. It seems to just be the edges on a lot of these pages. What if we blacked out the border instead of leaving it white? It would cover up the fogged edges, as long as they’re a strip like that.
This is where the fun started. It took a long while but after a fair few tests, I got the method down for creating a black border instead of a white. We created a cut out of the centre, used the border mat to line it up correctly and…..
Okay this is starting to irritate me
The next print came out the same. Each time, I’m dodging and split grading these images and I’m losing my patience with it all. It had been two hours of mucking about for the paper to be the issue I’m facing.
I gave it was last attempt before wanting to move on to another image…
Oh hell yes! It’s not split graded but I’m still happy enough with it to call it a day.
As a final hurrah, now that we’d found the section of the pack that wasn’t exposed I picked one other image and did one final print, just to see how it came out.
It came out wonderfully!
Ending the day on a win, I wrapped up and started scanning everything in.
And now? Time to see the Final Results!
Final Print(s)
Final Submission Piece
Final Thoughts
I keep having the same issue with anything analogue. I cannot get the focus right. I guess that’s part of the fun of it for some people. But for me, it just becomes infuriating. Sometimes you can spot it immediately, others it’s not until you see it in closer detail.
I’ve loved the development stage, as infuriating as it’s been. It’s been so fun to experiment and test weird and wonderful things. it’s been tough, tedious and troublesome but damn, it’s also been fun as hell.


Leave a comment